Module 1C: Accessories
C. Accessories
Camera Supports
Support of the camera during an exposure is an important consideration, especially at slower shutter speeds or when using longer focal length lenses. There are several tools a photographer might consider when additional camera support is desired.
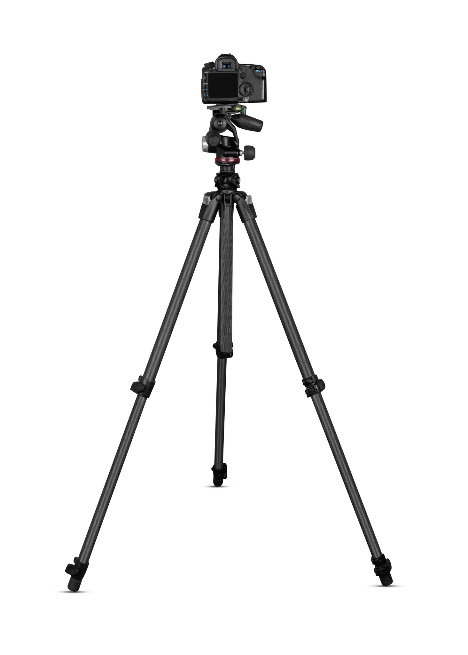
 Tripod The tripod is the first choice for providing camera support and stability. Most professional-grade tripods are comprised of a base with three legs and an adjustable column for critical height adjustments. The actual mechanism that attaches the camera to the legs of the tripod is sold separately and is called a Tripod Head. This gives the photographer an array of choices for camera mounting to fit every shooting style.
Tripod selection begins with considering the amount of weight the tripod will bear based on the weight of the camera, lens, and other gear that will be mounted to it. Once the camera is mounted, tripod stability is the most essential factor to consider when comparing tripod models. A heavy camera and lens on a lightweight tripod are a recipe for disaster when the rig becomes top-heavy. You will need to match the tripod to the weight of your gear.
Tripods are available in several alloys and composite materials, making them lighter and more durable. Outdoor photographers doing a lot of hiking may prefer a carbon fiber tripod for its lighter weight and ruggedness in the wild.
A heavy tripod provides stability and peace of mind in the studio or a high-traffic area, reducing the chances of getting knocked over.
A tripod is so much more than support for your camera. It allows the flexibility of addressing the client eye to eye and not have to be hidden behind the camera during the session. This also keeps your hands free to adjust the subject and lighting quickly. The added benefit is keeping a consistent composition from one image to the next.
Tripod Heads
All sorts of camera mounts, or heads, are available for mounting a camera to a tripod. Some heads are designed for shooting video, while others are geared towards still cameras. Like tripods, your choice should be based partly on knowing it is rated for the weight of the gear that will be placed on it.
Ball heads are a popular choice due to the ease of adjusting them quickly for portrait or landscape orientation.
Consider a tripod head with a quick-release plate that allows for quick camera removal for hand-held use and easy return to the tripod when finished.
Image Stabilization or Vibration Reduction
Some camera systems and select lenses offer Image Stabilization (IS) or Vibration Reduction (VR) options. These systems help to provide a sharper image when using slower shutter speeds, where the image might appear blurry if the camera is hand-held and IS or VR is not used.
It is recommended that the IS and VR features be turned off when using the camera on a tripod or other camera support because they can cause the image to be recorded as blurry.
Monopod
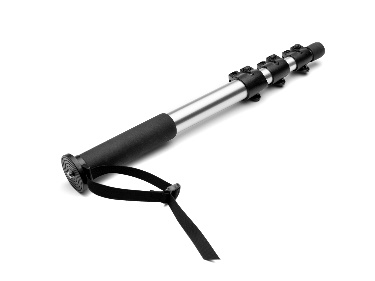 A monopod is another form of camera support utilizing a single post (leg) to take the camera's weight off the photographer's hands and arms during the exposure. While providing additional stability, it is still less stable than a tripod. It will also require some additional head attached to it to allow for vertical compositions if your lenses do not have a tripod mount collar.
White Balance
Earlier, we discussed the white balance settings and icons. Here, we will look at some of the methods for determining white balance.
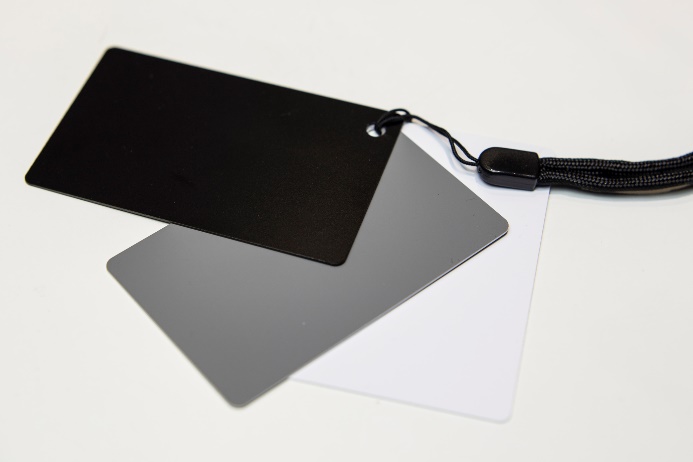
White Balance Target
The most common target to use is a simple 18% gray card. To use the target, set your camera to the Custom White Balance icon and place the gray card under the same lighting conditions as the subject. Next, point the camera to the gray card, observe the in-camera meter, and adjust the f-stops and shutter speeds to move the camera meter to the center. Take the image, then activate the camera's Custom White Balance settings in the menu, and the camera will now be set for color correction under that particular light source.

Calibration Target
Specific calibration targets allow for color correction of RAW images in post-production. These targets use a variety of color swatches that are photographed in the same lighting conditions as the subject. Once the target is photographed, it can be opened with software programmed to read the known value of each of those swatches and automatically adjust each subsequent image from those same lighting conditions.
Calibration Disc
A calibration disc works similarly to the white balance target in setting a custom white balance.
The difference is that the disc is mounted onto the lens, and photographers must place themselves in such a way (usually at the subject position) that the light falling on the subject is now falling on the disc. Then, activate your camera’s custom white balance settings.
Color Temperature
Cameras that offer a “K” or Kelvin setting allow the photographer to set the white balance manually by selecting the desired color temperature setting based on the Kelvin color temperature scale.
This scale places a numerical value on color, which can be measured with a sophisticated color temperature meter for highly accurate settings. This type of meter may be required for high-end commercial applications and images.
Since color is so subjective to the human eye, and since most photographic situations do not require highly accurate color reproduction, a little knowledge of the Kelvin scale can prove very valuable to the photographer who does not wish to or need to spend the money on a color temperature meter.
The icons below represent a single-color temperature value within the range of Kelvin values for that particular light source.

The chart provides various color temperatures from various familiar light sources. The photographer can render accurate color by tweaking the color temp in the camera menu to the light source. The “K” settings provide almost 80 choices for determining accurate white balance, whereas the icons provide only six.
Lens Attachments
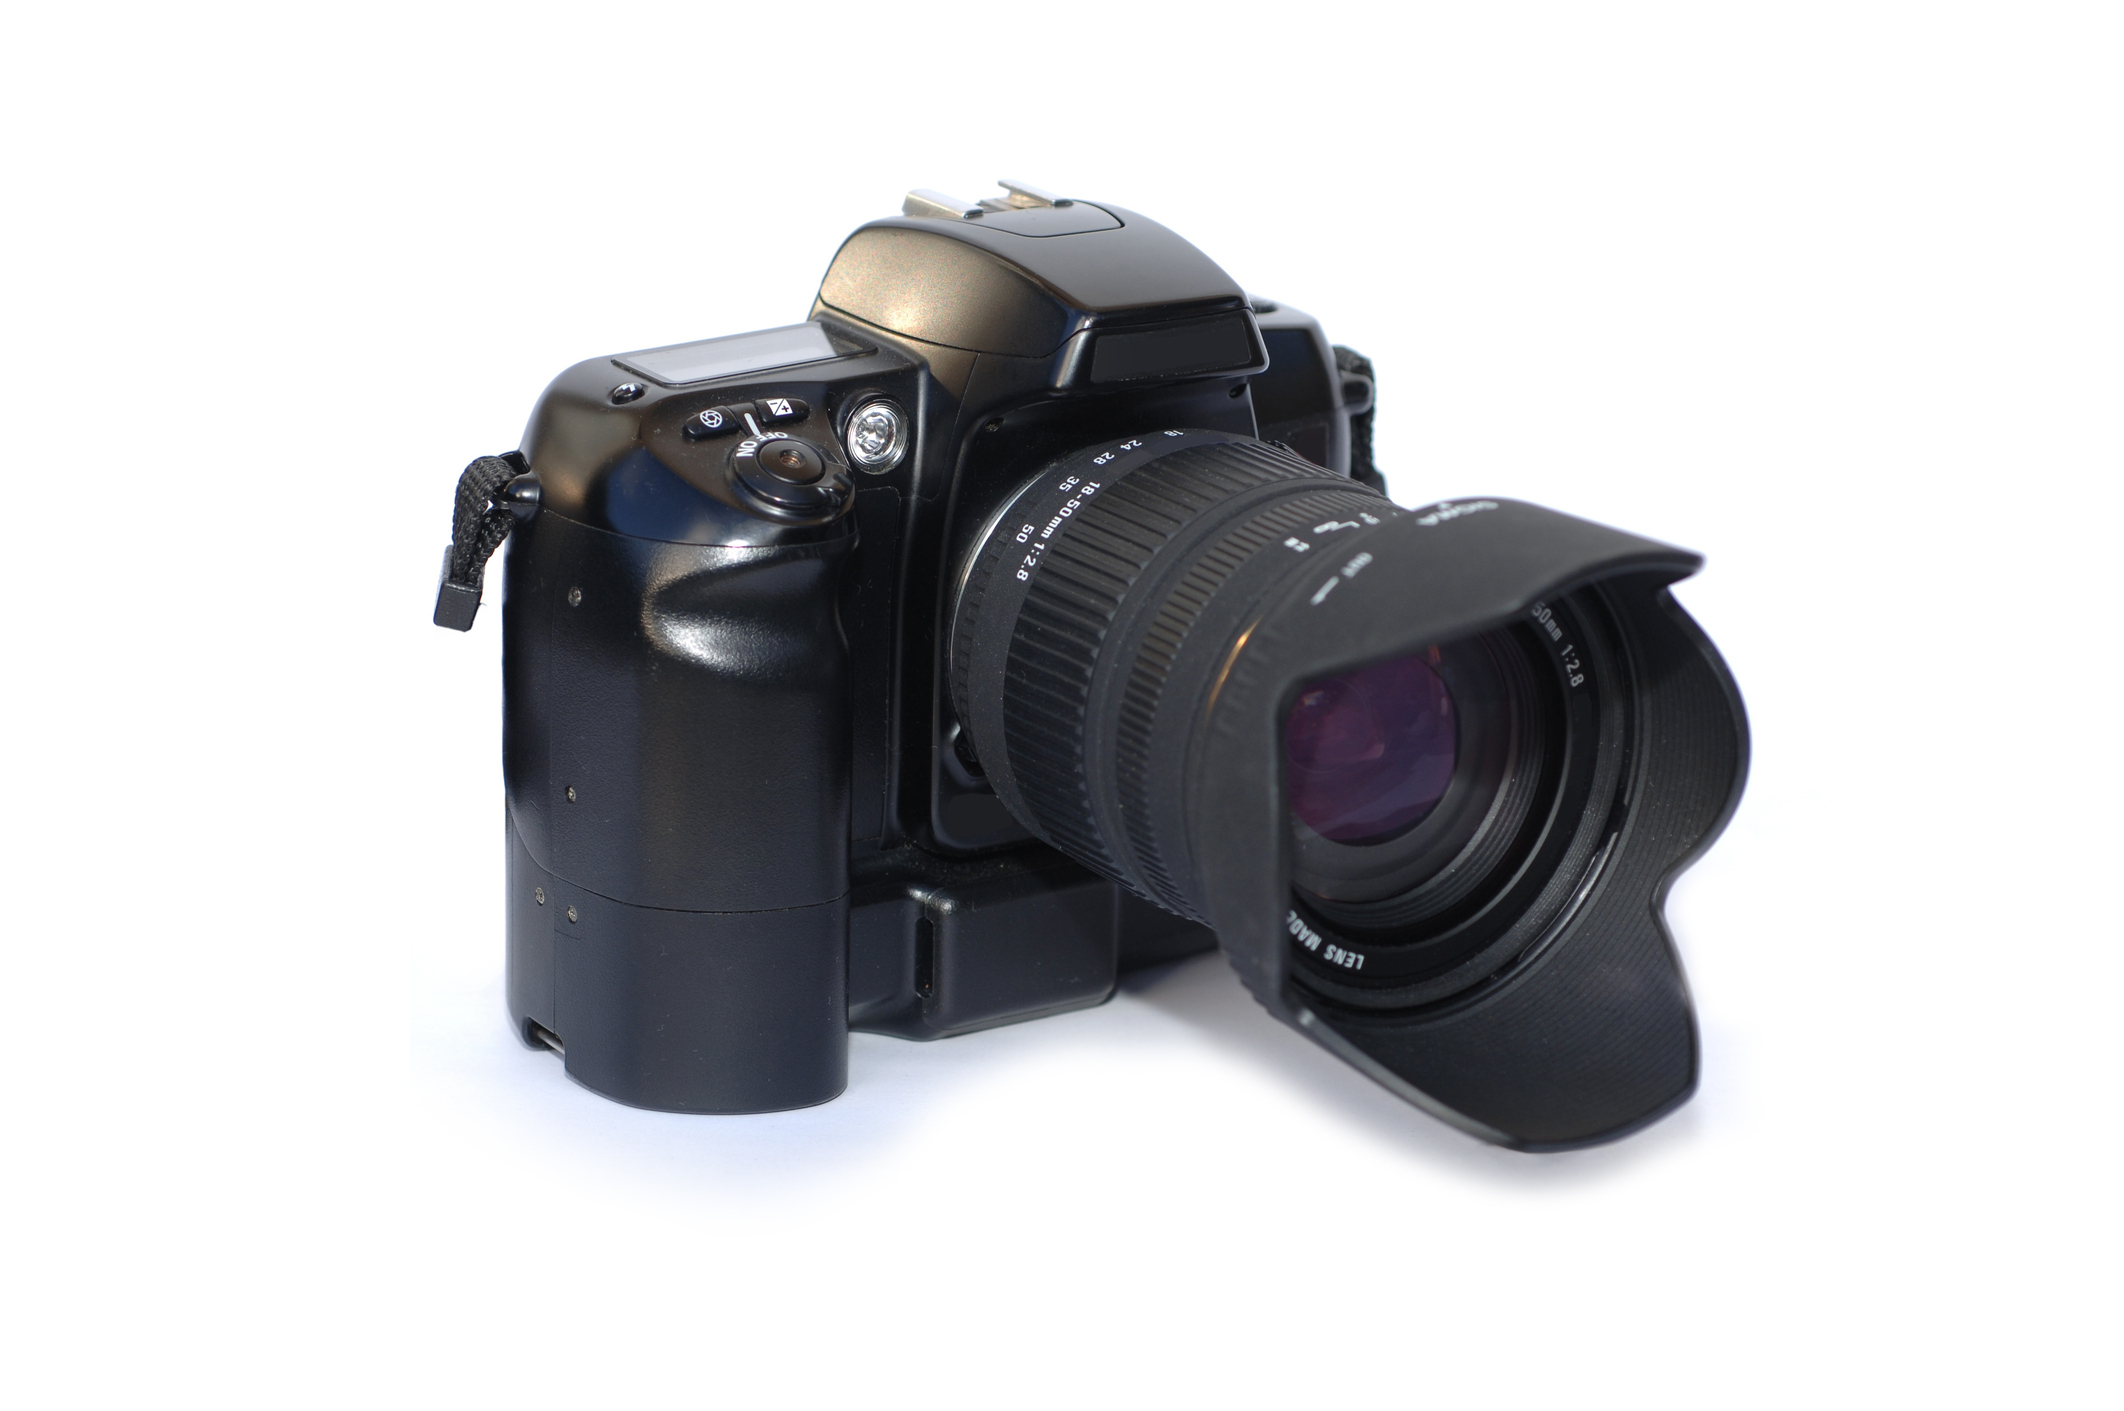
Lens Hood
A lens hood or lens shade is used at the end of the lens to reduce the possibility of stray light striking the front of the lens. Using a hood helps eliminate unwanted lens flare.
Filters
Filters are used for all sorts of purposes such as lens protection, color correction, and from image enhancements to creative interpretations. Filters may screw directly onto the lens or mount onto a filter holder which is attached to the lens.

Lens Protection
Two common filters that are used primarily for protecting the front of the lens from dirt, fingerprints and scratches are the Skylight (1A) filter and the UV Haze filter. Both the 1A and the UV Haze filter absorb ultraviolet rays, eliminating some degree of distant haze in a scene while also providing some layer of protection for the lens.
Placing inexpensive filters on the front of the lens may indeed have a negative impact on image quality as filters are not designed with the precision of a high-end lens.
Polarizer
A polarizer is a popular filter because it has several benefits to the photographers. A polarizer may be linear or circular. A circular polarizer is the better choice for lenses which utilize the auto-focus features of DSLR and mirrorless cameras.
A polarizer is something of a screen that is built on a mount so that it can be rotated to provide a greater or lesser effect as it is turned.
Use of the polarizer can provide increased color saturation and contrast. This is great for landscape and scenic images, but most of this can be handled in post-production.
A polarizer can also reduce reflections or glare on water and glass and other non-metallic reflective surfaces. A polarizer is often used when photographing other pictures or documents to help cut down the glare.
A polarizer can also be used to darken a blue sky when it can be used with the sun at 90° to the photographer’s left or right.

Neutral Density
A neutral density filter reduces the amount of light that reaches the sensor. It adds no color or effects other than the ability to reduce the overall exposure. This allows for slower shutter speeds to create longer exposures or the use of larger lens openings, especially under bright light conditions.
ND filters come in values of 1, 2, 4, and 8 stop values and more. They can be combined to reduce the overall exposure as desired. For example, you could combine a 1 and 2 stop ND filter to net a 3 stop reduction in the exposure.
A common use for a ND filter occurs in landscape photography where the photographer wishes to record moving water at a long exposure to soften the water. For example, if a scene measures f/22 @ 1/8 at 100 ISO, the photographer has likely maxed out the f-stop and ISO options. By adding a 4 stop ND filter, the shutter speed can be reduced from 1/8 of a second to 2 seconds. (1/8, 1/4, 1/2, 1 second, 2 seconds).
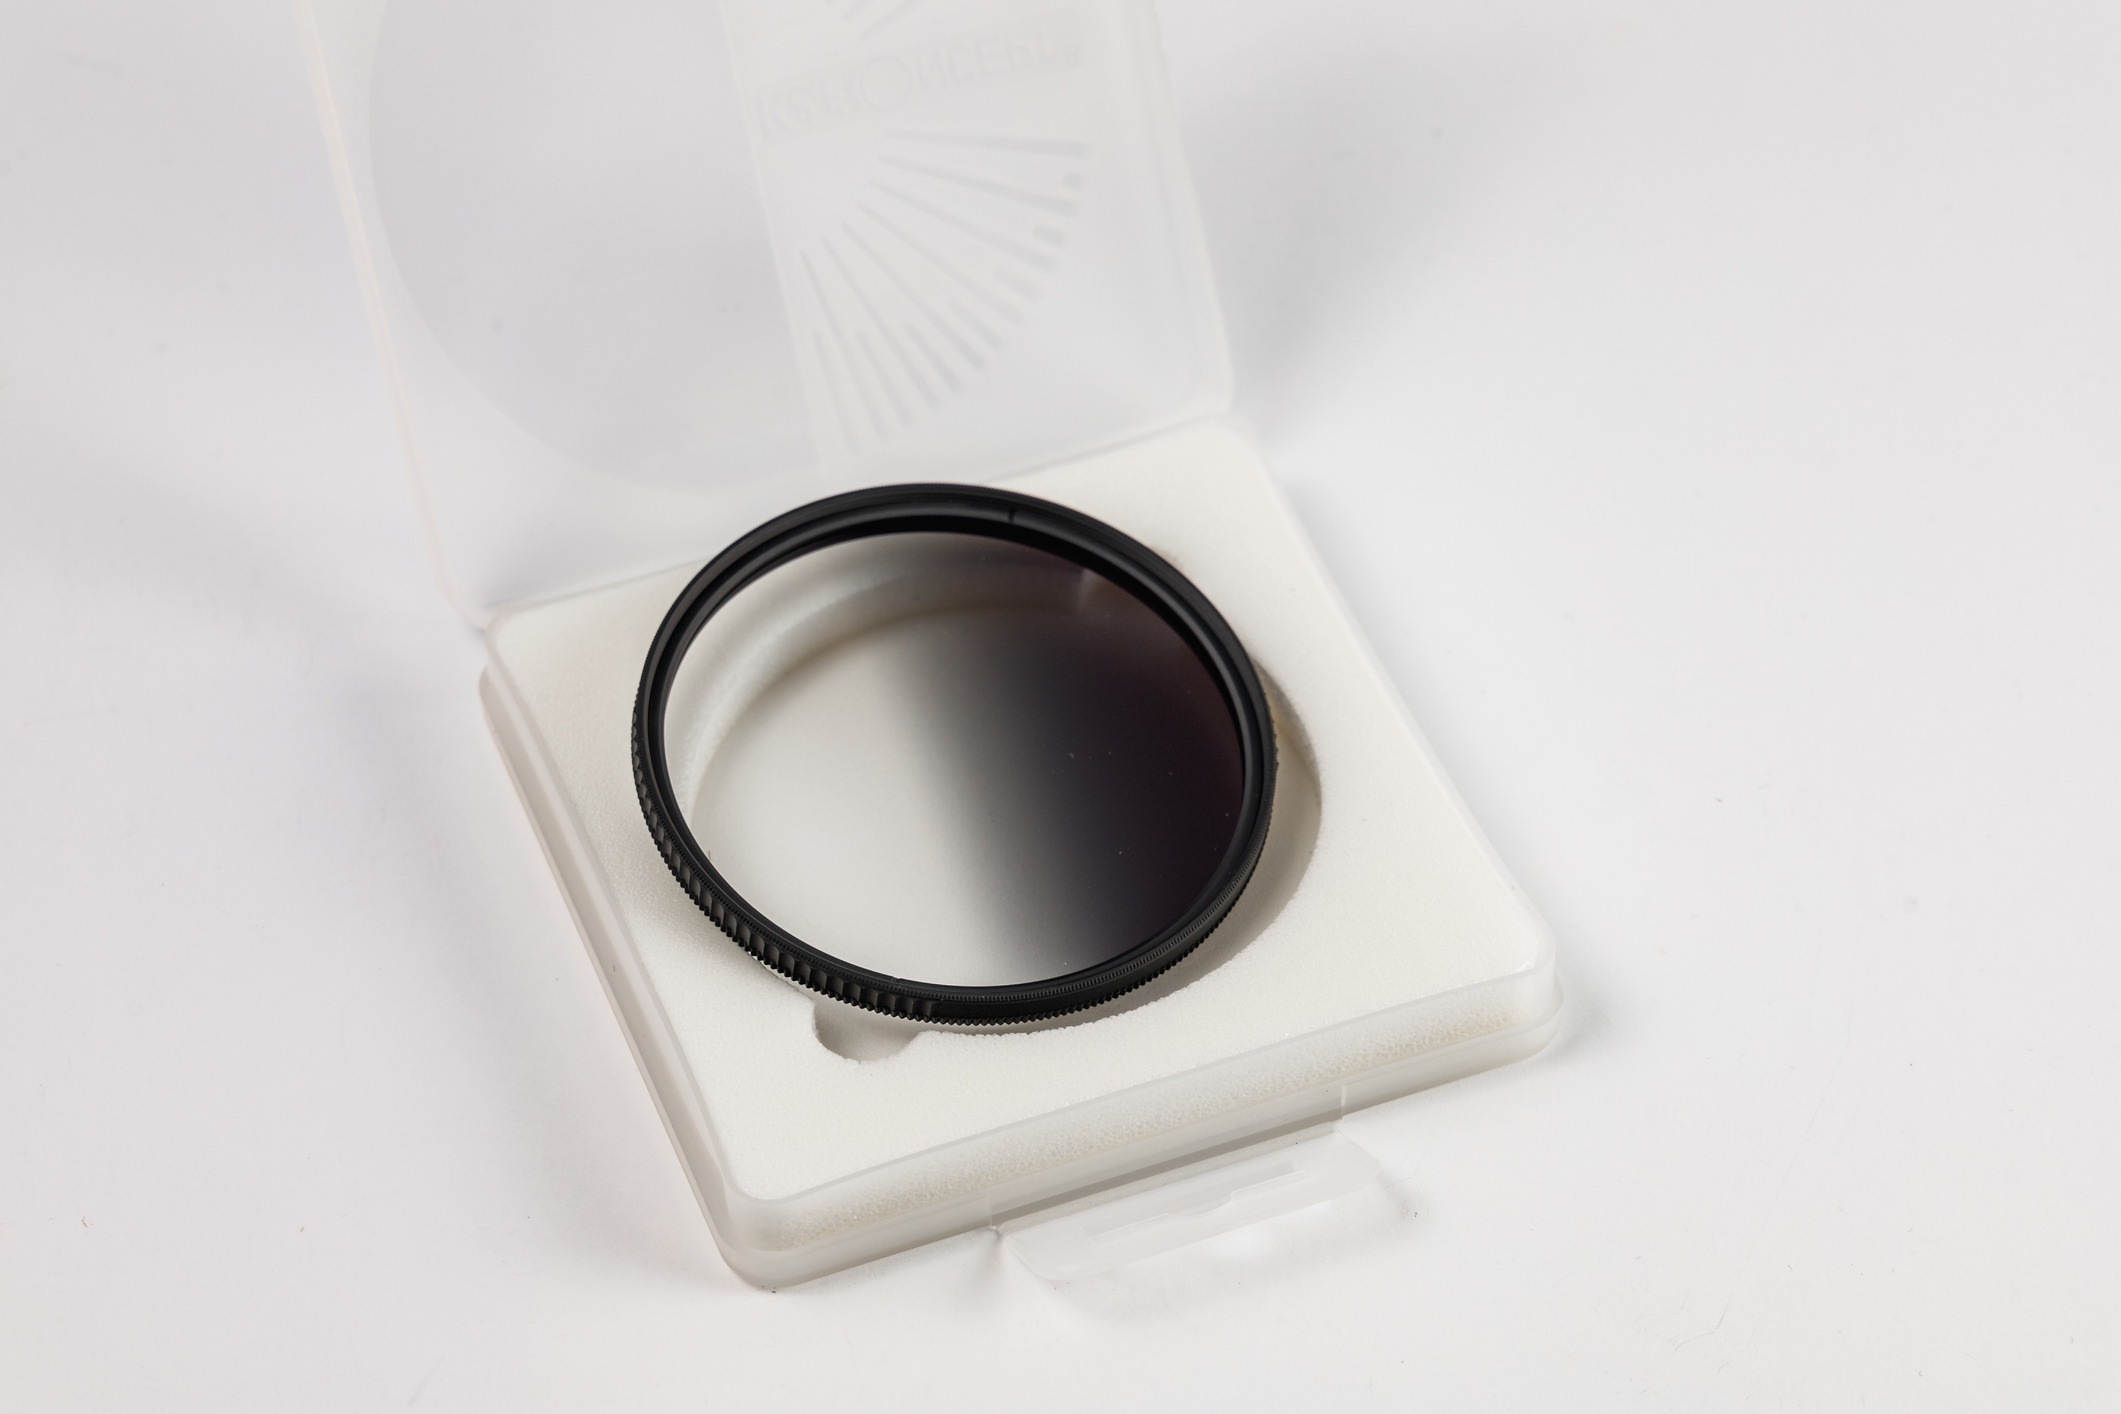
Variable Neutral Density
A variable ND filter is a single filter that can be rotated to increase or decrease the density to the desired amount.
Graduated Neutral Density
ND filters may also be graduated where the top of the filter provides the neutral density which gradually decreases toward the middle or the bottom of the filter. This is a great tool for photographers trying to capture a scene where the landscape is significantly darker than the sky above the scene. The graduated ND will effectively darken the bright sky to bring the exposure of the sky closer to the exposure of the landscape.
Lens Modifiers
Extension Tubes
These are used to create distance between the lens and the sensor to allow for close up photography. They come in assorted sizes which can be used individually or stacked together to lengthen the distance.
Some similar devices accomplish the same task using a pleated bellows that contracts and expands to the desired distance for close-up imaging.
Teleconverters
Teleconverters double or triple the focal length of a lens. The converter mounts to the camera just like the lens and then the lens mounts to the converter.
With a 2x converter, a 50mm lens effectively becomes 100mm. A 70-210mm effectively becomes a 140-420mm lens. With a 3x converter, a 50mm lens effectively becomes 150mm.
A 2X converter reduces your effective exposure by two stops. A 3X converter reduces the effective exposure by three stops. They also tend to reduce the contrast and sharpness of your images.