Module 4C: Using a Light Meter
 C. Using a Light Meter
Light Meters
When it comes to measuring the intensity of light, there are two types of meters a photographer will use: a reflective meter or an incident meter. While both meters measure light, they go about itoperate in completely different ways.
The one thing the meters do have in common is the fact that both of them are calibrated to render a tonal value of Middle Gray, also known as 18% Gray. Think of this gray value as the midpoint between black and white.
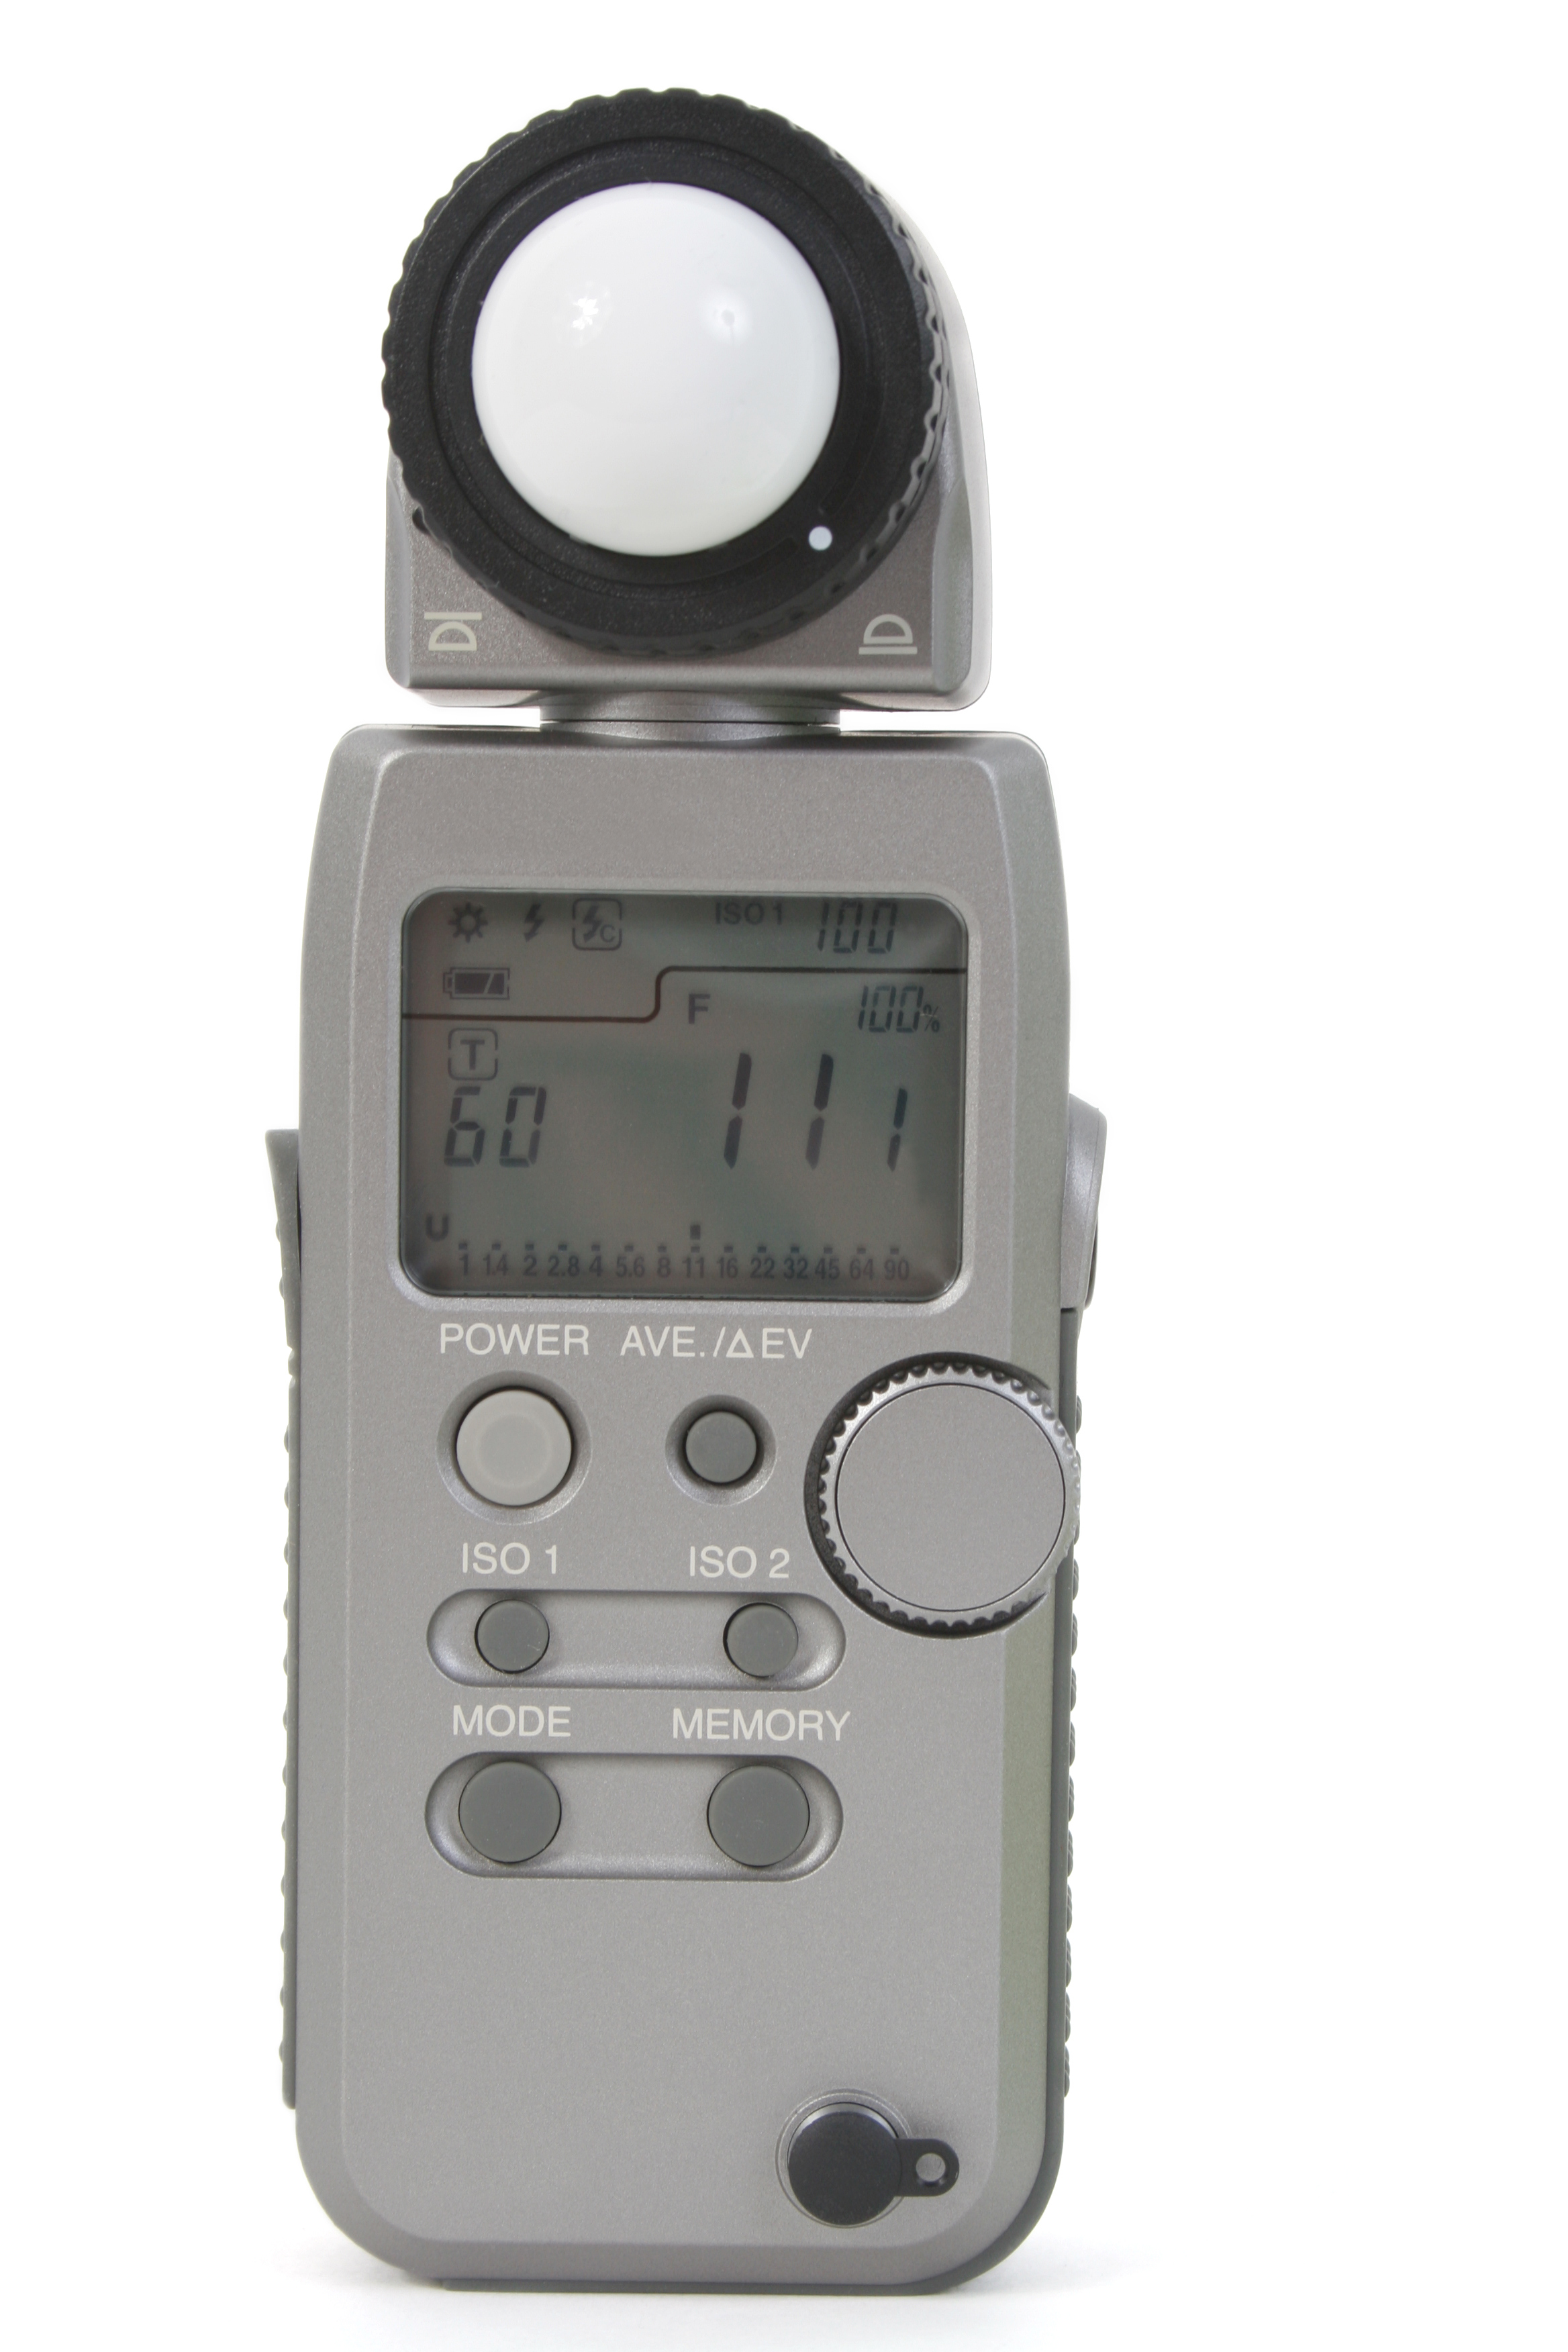
For a meter to return a useful measurement of the intensity of light, the photographer will need to provide the meter with a working ISO value. The meter will then return a measurement of light by providing a corresponding f-stop and/or shutter speed for that ISO value.
When activating the in-camera meter, the display will vary depending on what mode is selected.
In Program Mode, the camera is allowed to select the f-stop and shutter speed for the given ISO value. Assuming an adequate ISO value is selected, the graph will always be centered as the camera is returning an exposure based on the average of the light reflecting from the scene.
In Aperture Priority Mode, the graph is always centered because the camera is selecting the corresponding shutter speed for the chosen f-stop and ISO value.
In Shutter Speed Priority Mode, the graph is always centered because the camera is selecting the corresponding f-stop for the chosen shutter speed and ISO value.
In Manual Mode, the graph will only center when the photographer manipulates the f-stop and/or shutter speed dials to find a pair of settings that correspond to the amount of light reflecting from the scene at the given ISO value.
When viewing the graph in manual mode, if the indicator line is to the minus side of the center, the meter indicates underexposure. The photographer will either need to select a larger lens opening or slow the shutter down, or a combination of the two in to get the graph to the center.
If the indicator line is to the plus side, the meter indicates over exposure and the photographer will need to make the lens opening smaller and/or increase the shutter speed to move the graph to the center.
In the event a suitable f-stop and shutter speed pair can’t be found to center the graph, the photographer will need to increase or decrease the ISO value accordingly.
Keep in mind, when the graph is centered, this does not necessarily reflect the proper exposure of the subject. It simply provides an averaged reading of the light reflecting in the scene.
Understanding the In-Camera Meter
The following examples illustrate various graph readings.