Module 5D: Post-Production Workflow
D.  Post-Production Workflow
Capture
We now know the benefits of capturing in RAW format verses JPG. RAW capture provides the photographer with a lossless file that preserves all of the image data recorded by the camera. RAW files can then be converted into a variety of file types for editing and for final delivery. Capturing in RAW allows the photographer a full range of file type conversions. For this reason, we are only going to review the process of editing from a RAW file.
Image editing includes the entire process from capture adjustments, RAW conversions, artistic enhancements, and preparation for final output.
In this section, we will look at the basics of working an image after capture and through delivery.
Working with Images in RAW
Once files have been downloaded and backed up, the first step in editing would be making adjustments that improve the quality of the image after capture.
In the case of RAW capture, the photographer would open the files in an image editing software and begin evaluation of the image’s exposure, color, contrast, and saturation. This initial round of editing can be completed before the file is converted into an image file.
All these decisions should take place while viewing the images on a properly calibrated monitor.
Exposure
Analyze the image to determine if the exposure choices made at the time of capture have rendered proper exposerexposure of the subject and elements related to the subject. Universal adjustments to exposure can be made that affect the overall lightness and darkness of the image.
Next, carefully examine the image for details in the highlights and the shadows. Images that appear to have lost detail in these critical areas can usually be easily recovered by making independent adjustments to these areas inside the editing software.
White Balance
Because there are so many variables to color at the point of image capture, additional corrections or improvements to white balance are easily handled during image editing. When editing in RAW, select groups of images that are taken in the same lighting conditions and correct the white balance in batches to ensure a uniform color across the images.
Contrast
Contrast adjustments can help improve the overall look by carefully reducing some of the image’s tonal values. Often, midtones can make an image appear muddy or flat. Separating these tones can create an image that has a bit more contrast.
By increasing the contrast, that makes the dark values darker, and the lighter values lighter. This is why care must be taken not to overuse contrast adjustments to the point where shadow details start blocking up and highlight details start blowing out.
Saturation
Sometimes, it is helpful to make subtle adjustments to the intensity of the color of an image to improve the overall presentation. Flat lighting can sometimes cause the color to lack intensity or to appear dull. Increasing the saturation can help bring some of that color back to life. Be careful not to oversaturate the color as it can quickly begin to look artificial and unnatural.
There are also times when color may appear oversaturated. Reducing the saturation of color can help in situations where the color may be overpowering.
You may completely desaturate the color in this stage of editing if you plan to present the final image in black and white.
Black and White Conversion
There are several ways to convert a color file into black and white. Best practices would be to capture in RAW and desaturate the color before saving in the preferred format.
For image files, many photographers elect to keep the image in RGB mode instead of converting to grayscale. Preserving the RGB channels allows for more precise adjustments to the tonal values.
When adjusting each RGB channel individually, adding a color will effectively lighten that color and darken the other two. For example, the green channel will lighten green (and adjacent colors on the color wheel) and darken the reds and blues opposite to it.
To increase tonal contrast of a specific area, select a channel whose color is on the opposite side of the color wheel to the image's original color.
RAW Conversion
Once the initial edits have been completed, RAW files will then need to be converted into working image files.
Because so much time is invested in editing images for delivery, it makes sense that you only want to edit your images once. This is why you should export your images from RAW in the largest native resolution that your camera provides. This way, you are editing the image at its full resolution.
Once the images have been converted, additional editing can be done to improve the overall esthetics of the image.
File Formats for Editing
PSD - A Photoshop Document is an uncompressed, lossless image format for proprietary use with Adobe products. It is used primarily for image editing because it does not have to be flattened when closed. PSD files preserve edited layers even when saving and reopening the file so that editing may be continued at any time.
Once editing has been completed, PSD files can be converted to other file formats for delivery using the “Save As” option.
PSB – (Photoshop Big) As camera resolutions have seen a dramatic increase in file sizes and with photographers working with increasingly large image sizes, the PSB file allows for saving images of up to 300,000 pixels by 300,000 pixels and up to 300GB. The max size for a PSD file is 30,000 pixels by 30,000 pixels and up to 2GB.
TIFF – (Tagged Image File Format) This file format is often used for image editing and with high resolution printing. These files are quite versatile and offer the photographer a variety of saving options. This format can be lossy or lossless and can be compressed or uncompressed.
Where PSD files are proprietary to Adobe, TIFF files are not. This format is popular for image editing since they may be saved without flattening before closing. When saved as an uncompressed and un-flattened file, TIFFs preserve all layers for editing at a future time.
Once editing has been completed, TIFF files can be flattened and saved or converted to other file formats by using the “Save As” option.
DNG - A lossless image format with the purpose of eliminating the proprietary conditions of camera formats used in RAW formats. DNG provides a universal standard for editing and storing metadata which is embedded into the file and accessible to all future image editing software editions.
When using DNG files for editing, there is no sidecar file like there is with RAW. Instead, edits and changes are written directly into the file which strips out information that you can’t recover later. For this reason, it would be a good practice to preserve your original DNG files and use the Save As option for saving images that have been edited.
JPG - This lossy file format is most commonly used because of its compression. The compression of the file allows for smaller file sizes for storage and for faster transmission of files over the internet.
Because opening and saving JPG files causes data loss and degradation, and the fact that layers must be flattened before saving, they are not especially well-suited for editing.
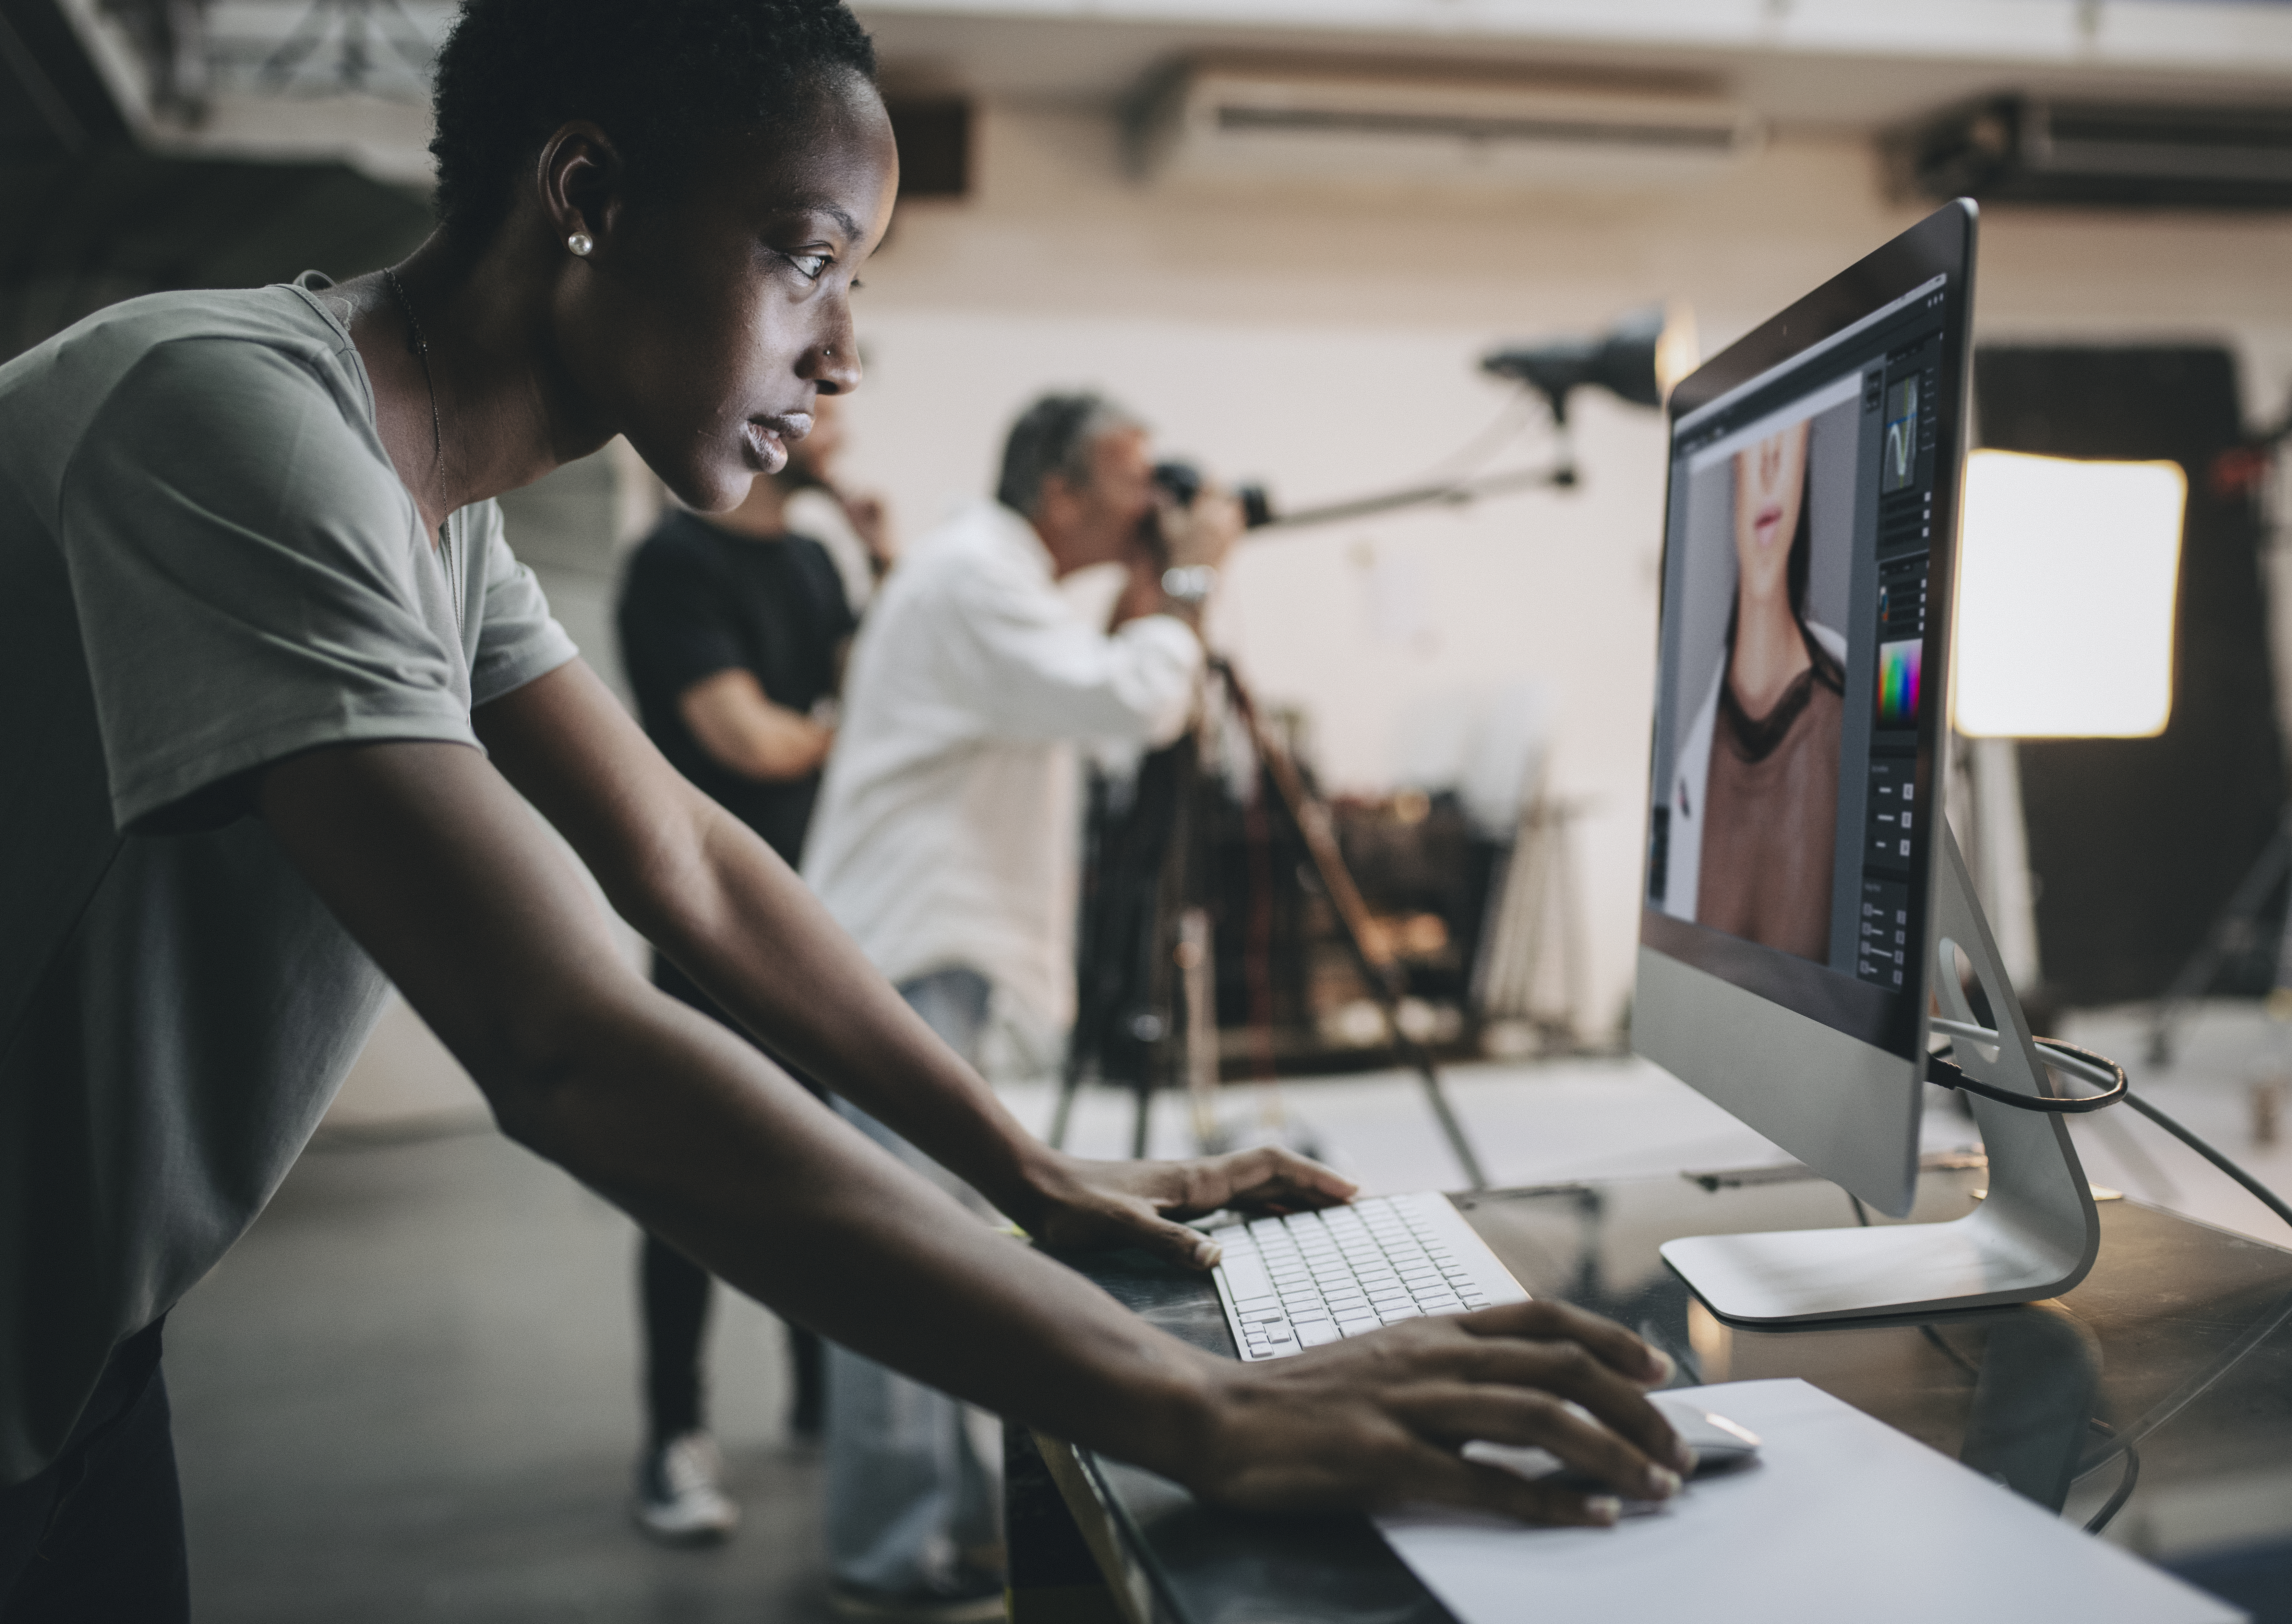
![]()
Local Adjustments
Sometimes, it is helpful to darken or lighten very specific areas within an image with impacting the entire image. The Dodge & Burn tools are used to lighten (dodge) or darken (burn) very specific areas within an image without having to make adjustments to the entire image. Both techniques are frequently used to reduce distractions within the image or to provide additional emphasis to the subject.
Vignette
This technique is used to carefully darken or lighten the corners of an image to direct the viewer’s eye toward the subject. This can also help the viewer stay engaged with the subject as the eye does not tend to drift toward the edges to the image.
Image Clean Up
It can be helpful not to add any vignetting to your image until you have determined the final crop for output.
Additional Editing
Inevitably, there will be distractions within an image that can be eliminated or reduces with some degree of additional image editing.
The two most common issues address elements within an image that need to be removed and elements within an image that need to be added.
Item Removal
Often times, there are elements in an image that create unwanted distractions. For example, you may find yourself photographing in a public park where you might encounter such things as a trash can, signage, litter and other people. Obviously, it is best to avoid these distractions, but usually these can easily be removed with various tools during the editing process.
There are also situations where adding elements to an image can help improve the esthetics. For example, a background of shrubbery may have distracting spots of filtered light coming through the greenery. This can be easily remedied in the editing process.
The Clone Tool, Healing Brush, and Content-Aware Fill are very useful when you need to remove distractions or make additions.
Clone Tool
This tool allows for exact duplication of selected pixels from a portion of the image or from a 2nd image (Source) for placement in a selected area (Destination) within the image.
Healing Brush
Similar to the behavior of the clone tool, this brush will “blend” the values of pixels from the source with pixels from the destination.
Content-Aware Fill
This tool allows you to select an unwanted element in an image and the software analyzes the surrounding pixels to predict a suitable replacement for the selected area.
Using Layers
These tools can be especially useful when retouching skin complexions and imperfections.
The real trick to using these tools is to do it carefully so that there is little or no evidence that any editing of the image has been done.
For added control, edits can be made on an adjustment layer. By creating a new layer to perform these techniques, the original layer can be preserved and accessed if needed.
Reducing the opacity of an adjustment layer will allow for a more subtle enhancement by blending values from the original layer or other edited layers.
Images saved as .tiff and .psd will preserve these layers with no loss of quality when saved for access at a later time.
Final Edits Before Delivery
Because images are often delivered in a variety of sizes and frequently repurposed for different output media, it might be helpful to save a few steps in editing until you are preparing an image for final delivery.
Cropping
We have already seen where it can be helpful to crop a bit loosely in camera to accommodate a variety of crops. For this same reason, consider fully editing the image before making any crops. This way, all edits are done whether you are delivering an image in a horizontal crop or a vertical crop.
Sharpening
Sharpening an image allows the photographer to improve the overall look of an image. The key to sharpening is to sharpen an image specifically with the image’s final output, size and viewing distance in mind. For this reason, resist the temptation to do any heavy-handed sharpening at the time of RAW conversion.
Careless over-sharpening can result in the degradation of the image and pixelation, so save the sharpening for one of the lasts steps when you know how the image will be used.
As a professional photographer, you should strive to prepare images at the highest resolution possible and then size them appropriately for the job. Doing the editing at maximum quality will save you from having to redo the work when the client decides the image you did for their website will look good as a full-page ad in a magazine.