Module 1D: Correcting Problems in Images
D. Correcting Problems in Images
Diagnosing Problems with Image Capture
Inevitably, problems will occur during image capture. Hopefully, you can spot these problems and quickly correct them during the shoot. Issues that go unnoticed until post-production may be much more challenging to fix and take a great deal of valuable time, or worse, be impossible to correct.
Spots
Airborne dust and other debris may find their way onto a lens and the camera’s sensor - especially if you remove and replace lenses frequently. The best practice is to turn the camera off when changing lenses.
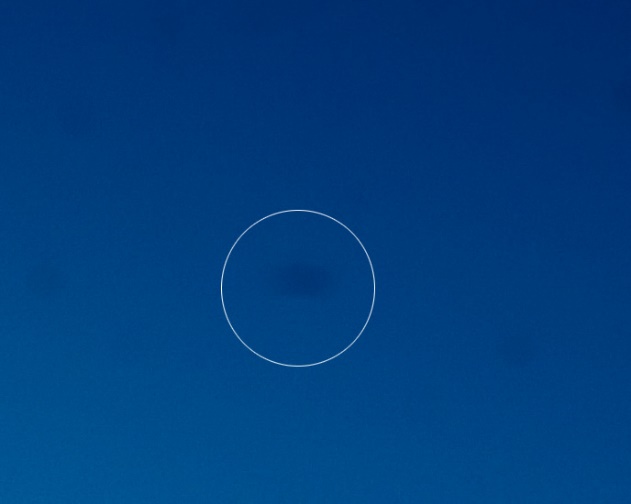
Dust on a sensor will appear in the image as slight, dark, and blurry imperfections. Condensation that has formed and dried on a sensor causes visual imperfections, as seen in the image below.
The camera’s sensor cleaning option may help with dust but will do nothing to help with spots from condensation. Proper sensor cleaning will be required.
Out of Sync Flash
Failure to use the correct flash sync speed may result in a portion (if not most) of your photographs being black. This occurs when the flash fires and the curtain mechanism or camera shutter has not fully opened.
The curtain blocks a portion of the sensor, so nothing is recorded in that area. This creates a black strip area on the photograph.
The solution is not to exceed the appropriate sync speed determined by the camera manufacturer for your camera model.

Digital Noise
Digital noise is an objectionable appearance of imperfections within a digital image. The introduction of noise is usually the result of high ISO values or long exposures. Noise patterns in an image appear as random variations of brightness or color. The film equivalent to digital noise is grain. Digital images may also manifest noise as grain.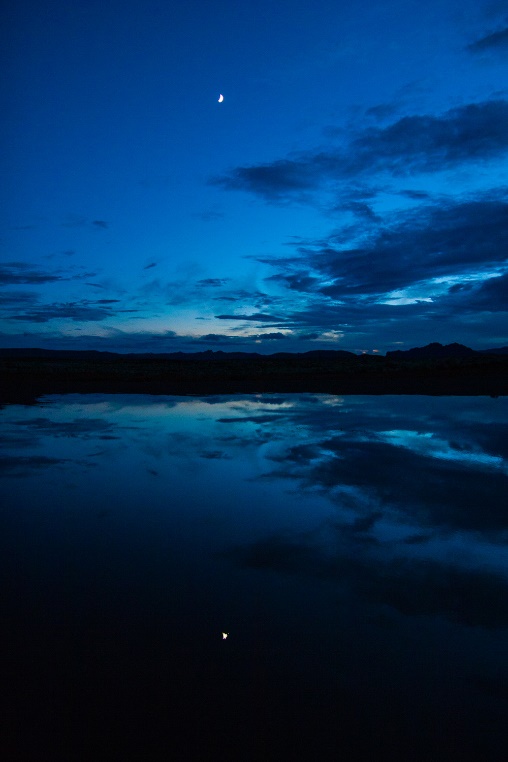
The image above looks good at a small size, but a closer look reveals a lot of noise from using a high ISO (below).
While increasing the ISO helps capture action in low light, it can also decrease the sharpness of the image and increase the noise. As the ISO increases, so does the noise.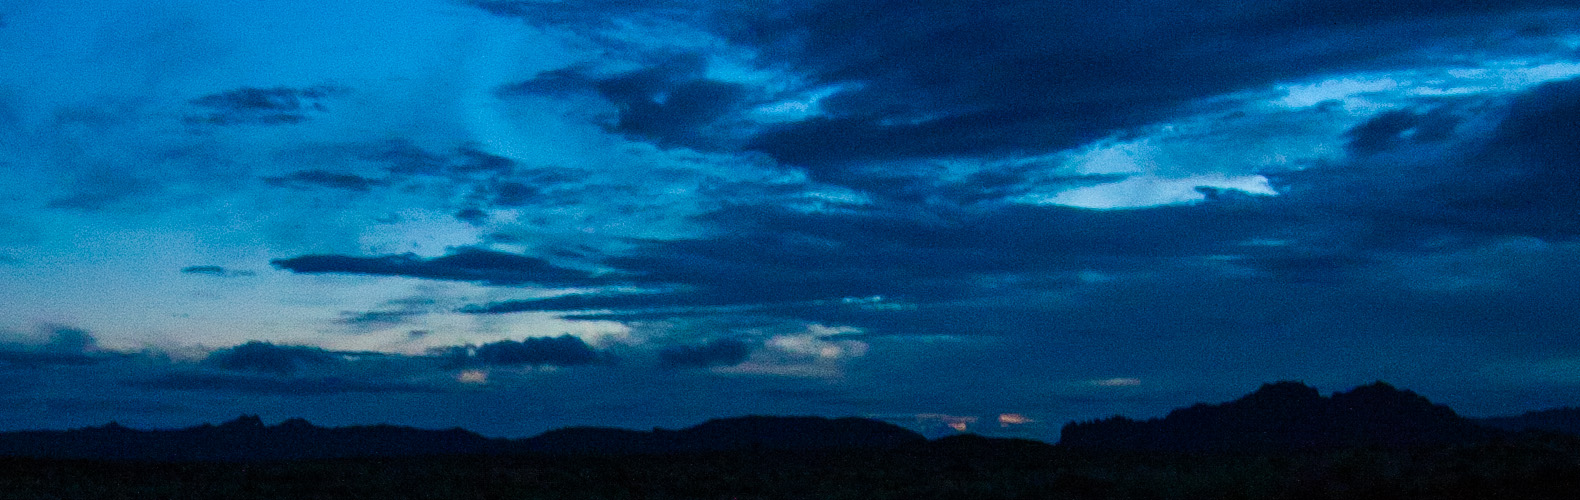
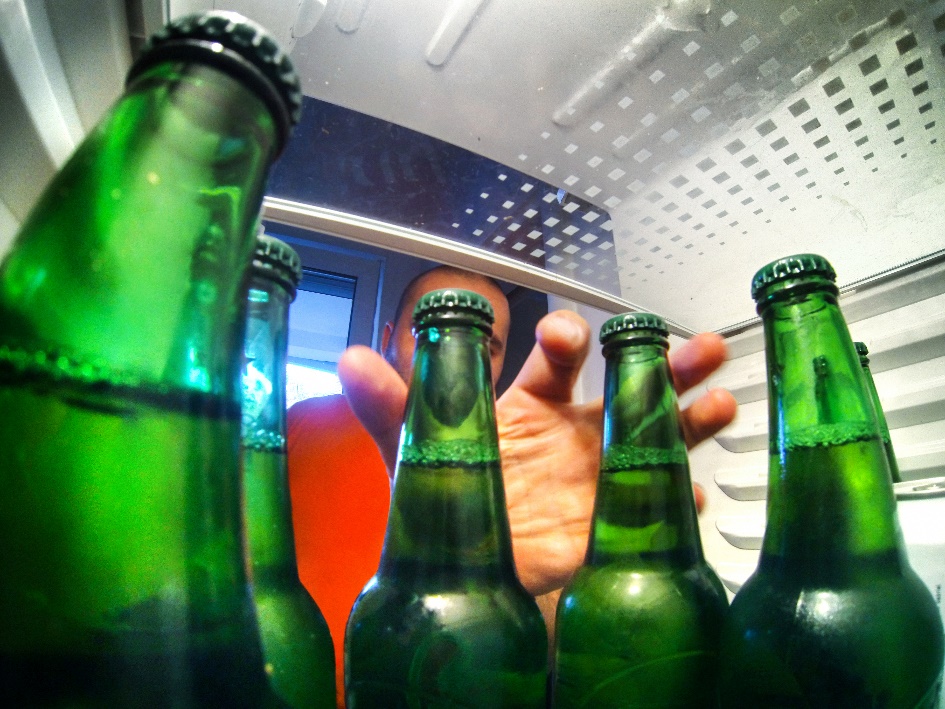
Digital Artifacts
These imperfections may be introduced into a digital image from the sensor, lens optics, JPG compression, digital interpolation, or over-sharpening. Digital artifacts manifest themselves in many ways, including jagged edges, blooming, and more. 
In the image above, dark lines can be seen throughout the image. These digital artifacts result from high ISO and a slow shutter speed.
White Balance
We have already looked at various tools used to set the white balance. It is always good to deal with white balance selection during image capture. However, diagnosing problems with white balance may be difficult when viewing images on the back of the camera.
Capturing in RAW format and utilizing a RAW workflow on a calibrated monitor will provide the largest latitude for accurate color correction in post-production.
Noise Reduction
Digital noise is often the result of using high ISO values. It is also challenging to see in the small screen on the back of the camera at image capture. The best safeguard against digital noise is to minimize the usage of high ISOs at image capture.
If increased noise is an issue in your images, your editing software may have noise filter options. Any number of alternative software solutions will help reduce noise values.
Diagnosing Problems with Image Capture
Inevitably, problems will occur during image capture. Hopefully, you can spot these problems and quickly correct them during the shoot. Problems that go unnoticed until post-production may be much more difficult to correct and take a great deal of valuable time, or worse, be impossible to correct.
Out of Focus
The larger the focal length, the more difficult it is to hold the camera steady. This is because larger focal lengths not only increase the magnification of the image, but they also increase the magnification of movement. A sturdy tripod is invaluable, especially in low light.
When hand-holding a telephoto lens, use a shutter speed at least equal to the focal length of the lens. For example, a 100mm lens will require a shutter speed of 1/125 to handhold with reasonable sharpness. A 200mm lens requires 1/250 to handhold.
Use higher ISOs to achieve faster shutter speeds when hand holding.
Lens Flare
Unwanted lens flare is best dealt with at the time of capture with a lens hood or simply protecting the lens from unwanted, stray light.

Chromatic Aberration
This distortion occurs because the lens design is unable to focus the wavelengths of all the colors to the same convergence point.
Chromatic aberration manifests itself as fringes of color along the edges that separate dark and bright values of the image.
The image below has a great deal of chromatic aberration in edge line where the stems and petals are in the foreground of the image.
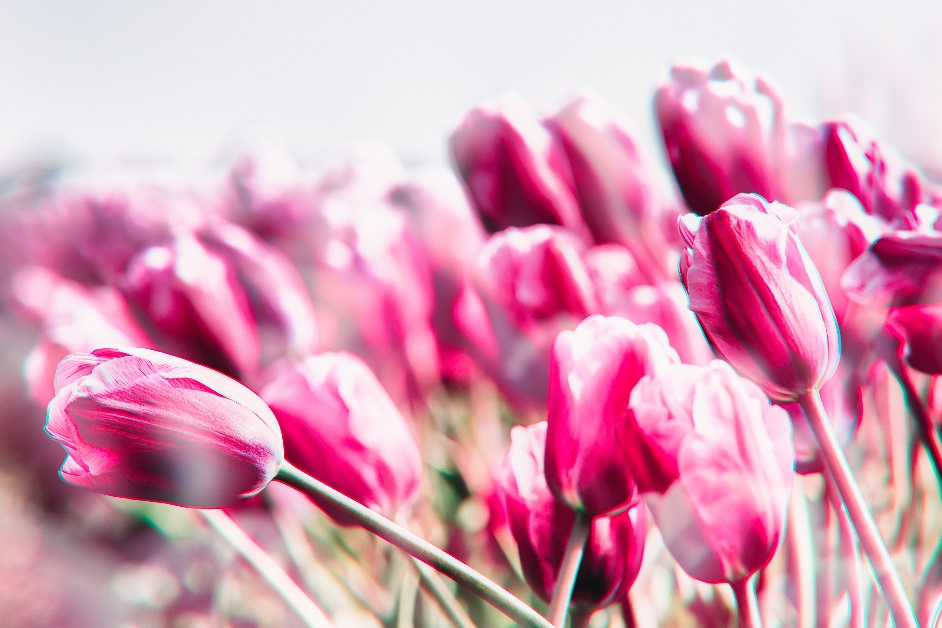
Corrective measures to reduce chromatic aberration include using smaller lens openings rather than large lens openings. There are also adjustments that can be made to files that are captured in RAW mode and processed through RAW conversion software.
Barrel Distortion
With barrel distortion, straight lines bulge out at the center.
The apparent effect is that of an image which has been mapped around a sphere (or barrel). In a zoom lens, barrel distortion appears in the middle of the lens's focal length range and is worse at the wide-angle end of the range.
 Remedies include use of prime lenses, purchase of higher quality lenses and digital corrections with Photoshop.
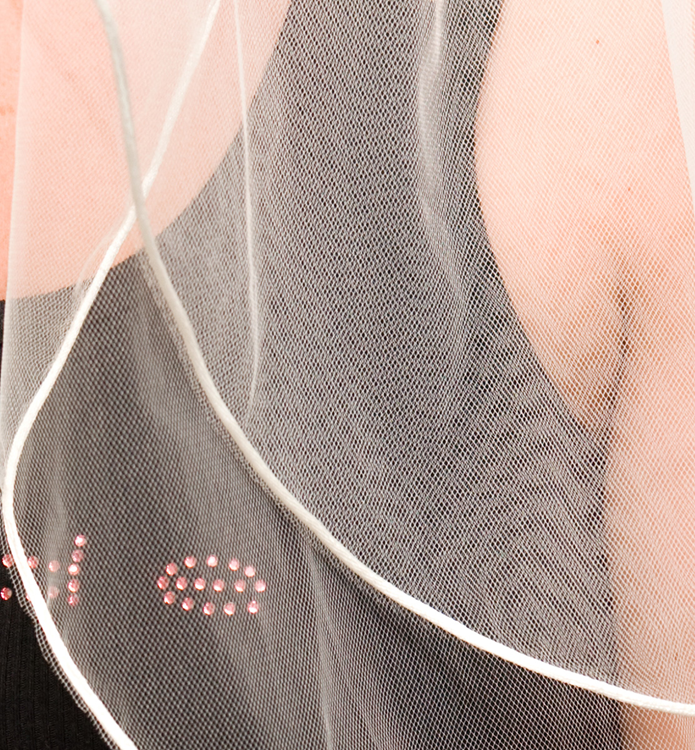
Moiré
This nuisance of unwanted false patterns sometimes occurs during capture of clothing or even natural patterns.
The wavy pattern seen in the bride’s veil at right is an example of Moiré. This can sometimes be corrected in post-production but can also be avoided with an anti-alias filter at the time of capture.