Module 3C: Cropping In-camera
 C. Cropping In-Camera
Cropping in the Camera
Cropping your images in-camera can help save you time during post-production as well as help you see issues with the image as you are capturing it. Occasionally, it might be better to make some of the cropping decisions at the time you are preparing to order images instead of when you are taking them. This is because final images may be ordered in a variety of sizes and shapes. If the images are cropped too closely in the camera, there may not be as many options for preparing a final image for presentation.
Cropping too loosely may make you feel that you may be losing image quality since you are not taking advantage of your sensor size and all of its available pixels. For the most part, this is not a problem with the generous number of pixels available in most of today’s DSLRs and mirrorless cameras. The trick is to crop loosely but also to not leave too much dead space that can distract the viewer.
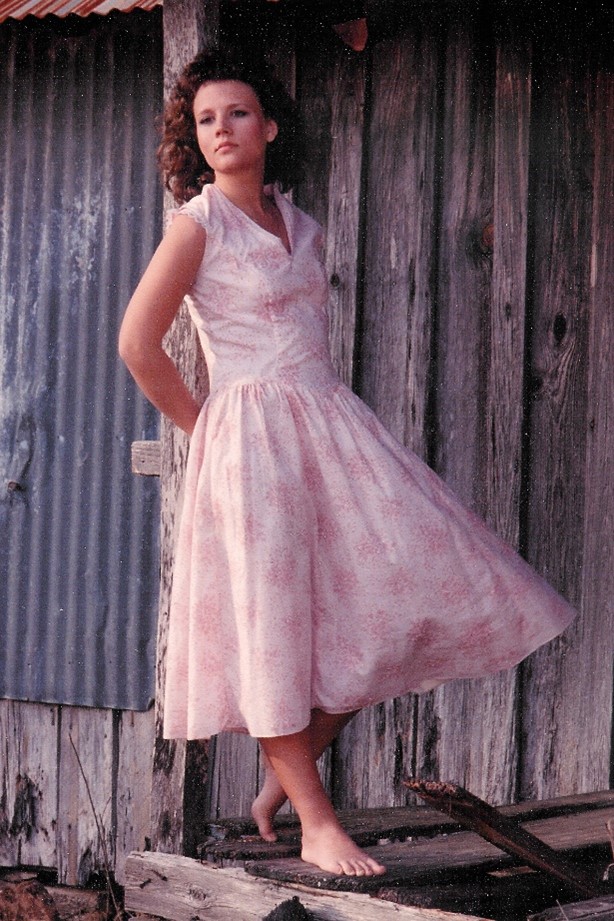
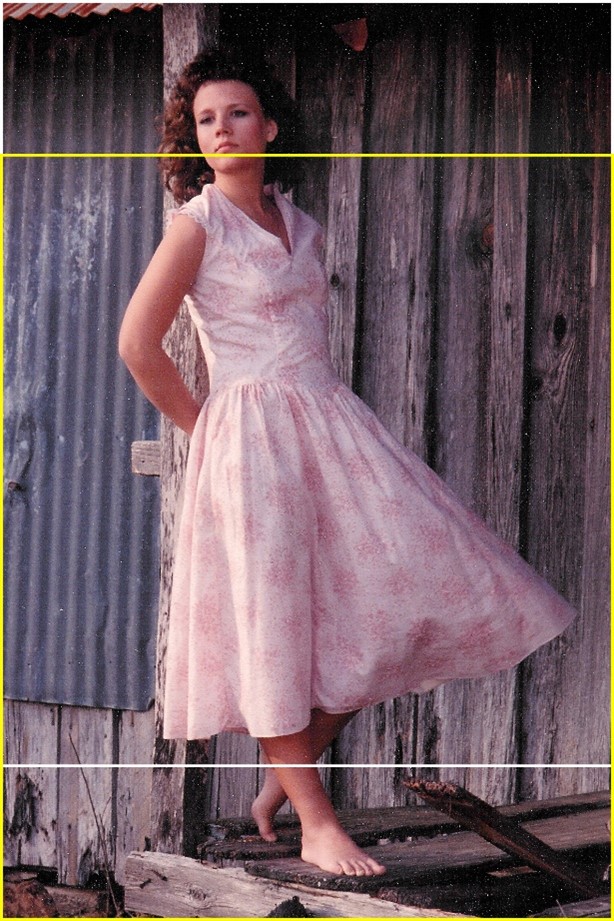
The image on the left is cropped very tightly. If the client wants an 8x10, we have to choose between cutting off her feet or her head (right). The yellow line to the bottom crops at 8x10 and the white line to the top crops at 8x10.
The full frame image at left is loosely cropped, but it provides a number of options in how the image can be presented.
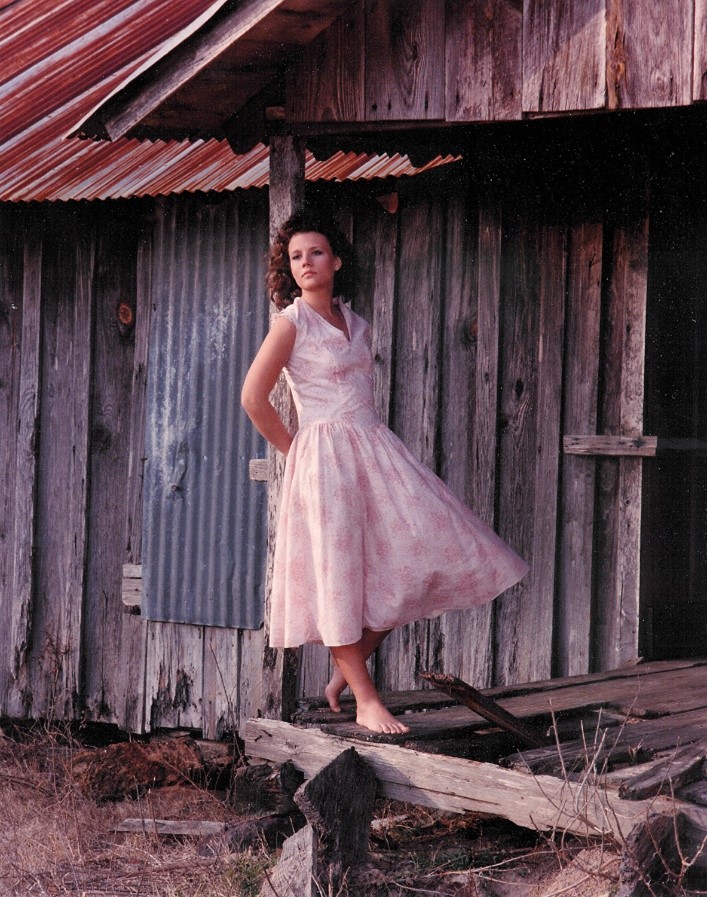

This full frame composition would be ideal for a gallery wrap as it leaves room on all four sides to provide content for the visual sides of the wrap. The image on the right side has a nice composition using the rule of thirds and cropping out some of the distractions.
Cropping Guidelines
· Avoid cropping off hands and feet.
· Avoid cropping at any joint such as elbows, wrists, knees and ankles.
Aspect Ratios
Aspect ratios describe the proportional relationship of the height and width of an image. Aspect ratios are the reasons that the same image cropped to 16x20 will not look the same when that same image is cropped to a 20x30.
Most camera sensors have a 2:3 aspect ratio. Because an image is captured at that ratio, it will need to be printed at that same ratio to avoid cropping out any portion of the image. Prints that are 4x6, 8x12, 16x24 and 20x30 are the same aspect ratio as the image capture by the sensor, so they can be printed with no cropping.
Prints that are 4x5, 8x10, 16x20 24x30 are in the 4:5 aspect ratio. When you try to print at a 4:5 ratio, an image that is captured and cropped to a 2:3 ratio, you will lose a portion of the image. With an 8x10, for example, two inches will be lost off the overall length of the image because the image size would actually need to be an 8x12 (2:3 aspect ratio) but you only have 10 inches of paper.
Images cropped to 5x7 and 11x14 also lose some of the image’s length because the paper is not long enough to contain the entire image.


The image top left shows the entire image file captured at 2:3 aspect ratio. In the final version on the right, the image was cropped to a 20x24 with a 4:5 ratio. A total of 6 inches of in height was lost compared to the original file size.