Module 2E: Lighting Techniques
E. Lighting Techniques
Controlling Natural Light
Natural light is unpredictable from day to day. Changes to natural lighting conditions occur with full sun, overcast skies, and heavy cloud cover. Each lighting condition changes the photographer’s approach in how the subject will be lit.
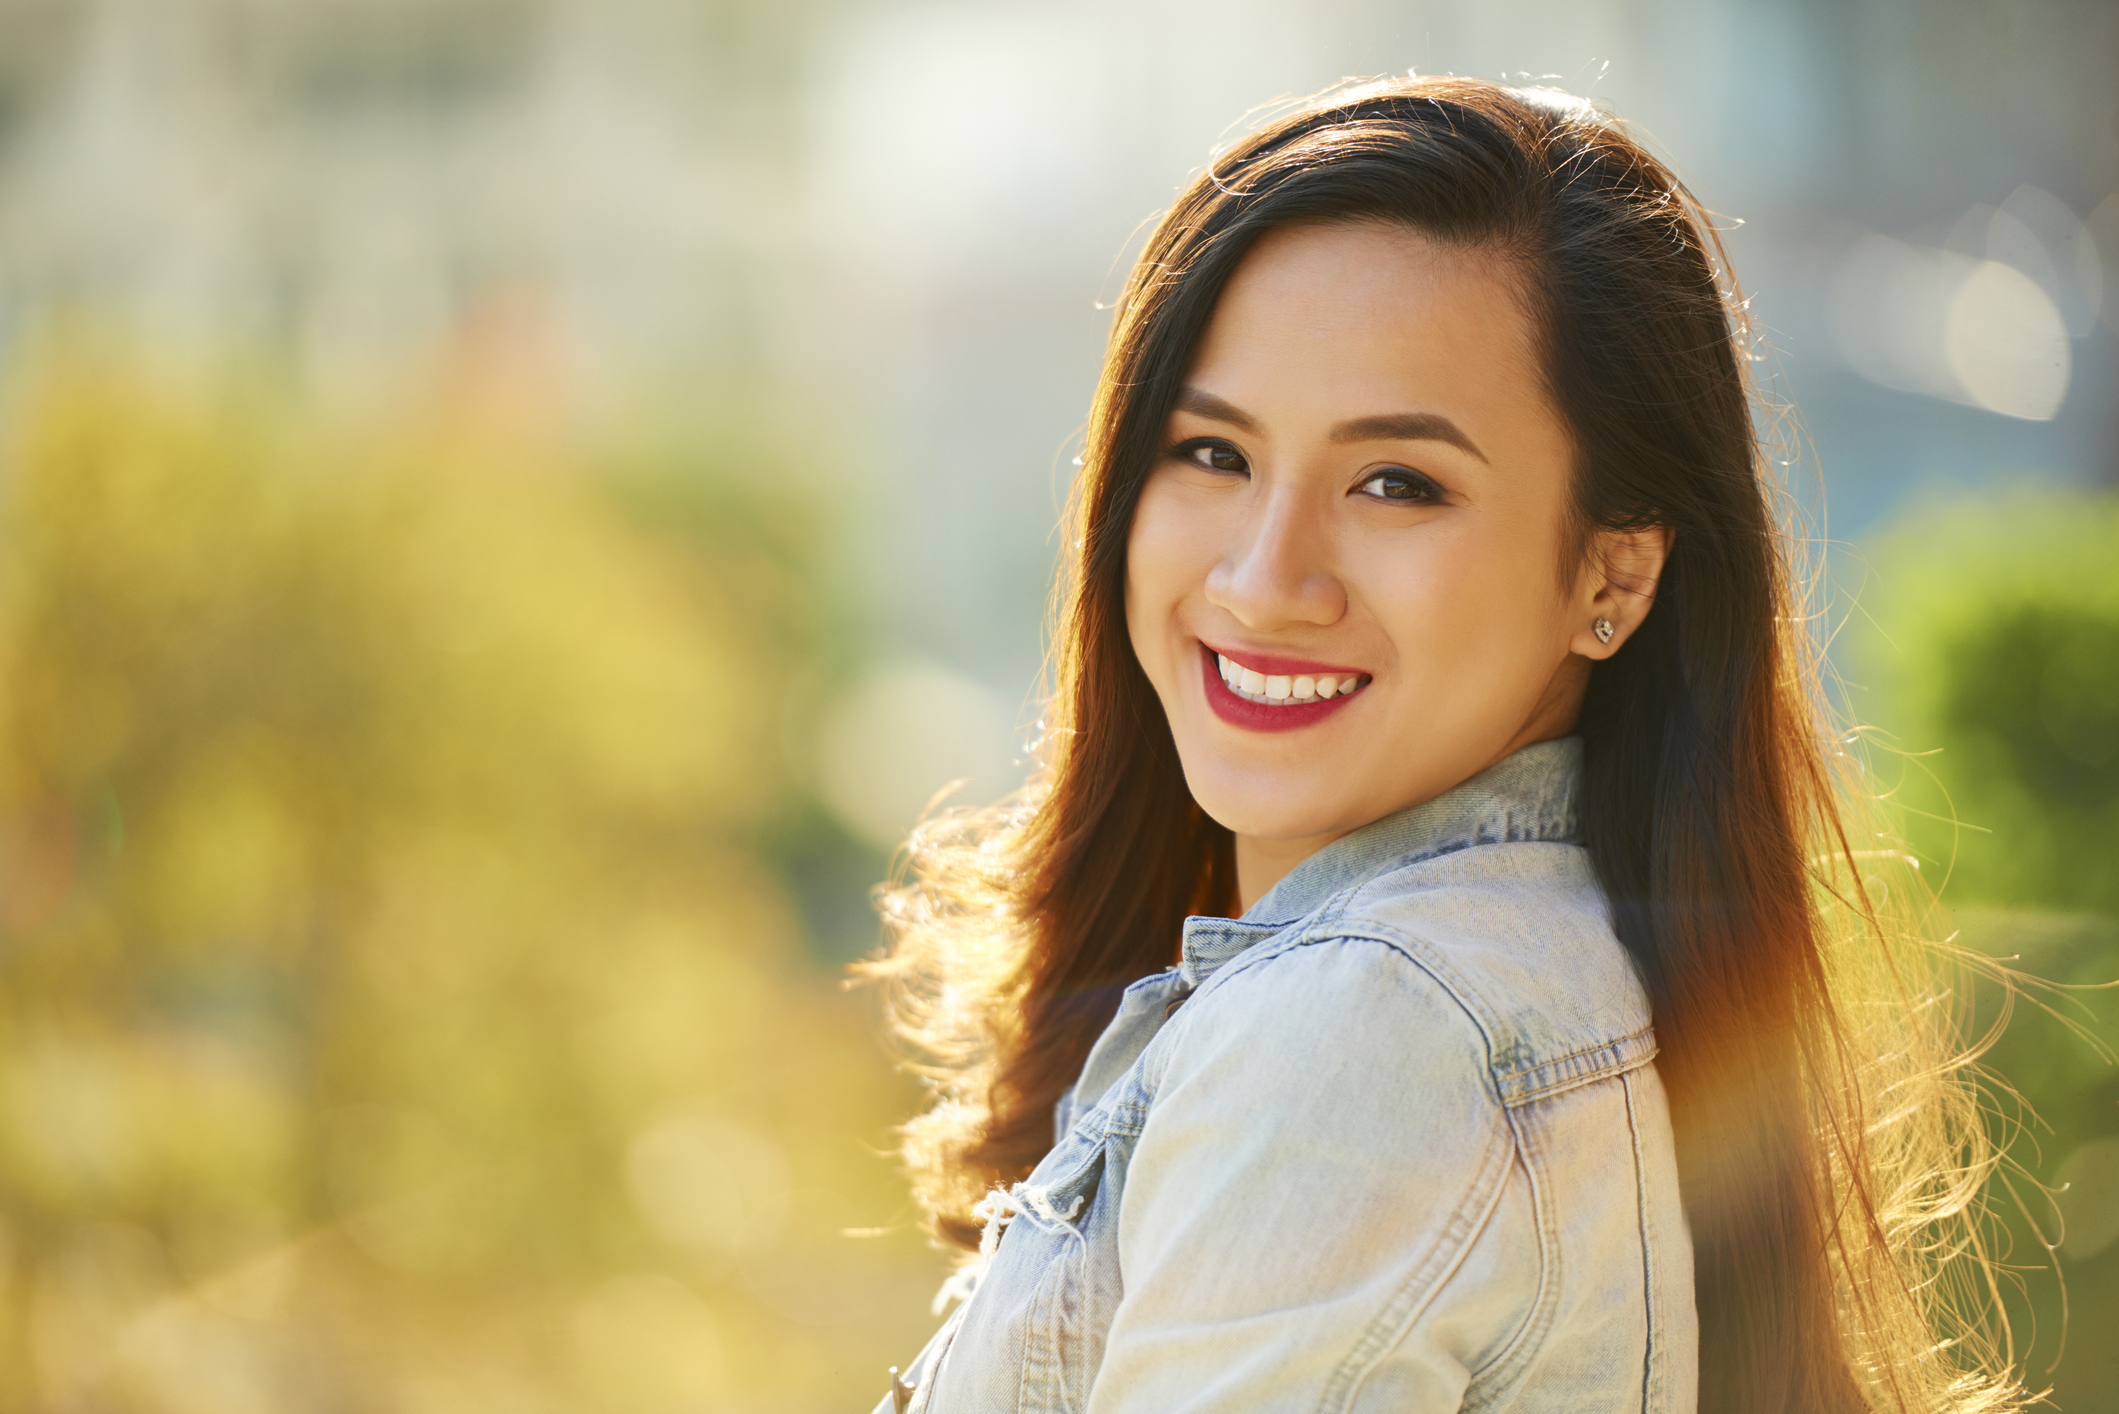
With portrait photography, full sun is a hard light source and not well suited.

The image above was taken at midday with the sun high overhead. The mix of highlights and shadows on the faces makes for lighting that is harsh and uneven.
The image would have benefited from a strong fill flash to raise the illumination of the shadows.
Photographers may need to seek out opportunities to work in open shade or create opportunities for diffused directional light.

The arsenal of gear used by photographers to control the light, include, scrims, translucent panels, gobos, reflectors, umbrellas, softboxes, parabolic reflectors, snoots, barn doors, honeycomb grids and more.
Translucent panels may be utilized to modify hard sunlight and turn it into a larger and softer quality of light.

Subtractive lighting tools may be used to block direct sunlight and create directional light.
Window light is at its best when there is no direct sunlight coming through the window and the lighting is soft. This could mean working on the side of the building opposite the sun or north facing windows that do not get direct sun.
Window light may be modified with translucent fabrics to cover the window when direct sun comes in through the window.
Window light may also benefit from reflector fill if the contrast of the lighting is unacceptable.
Overcast skies and heavy cloud cover tend to create very flat lighting. Subtractive lighting methods may be employed to create directional patterns and eliminate high, overhead lighting.
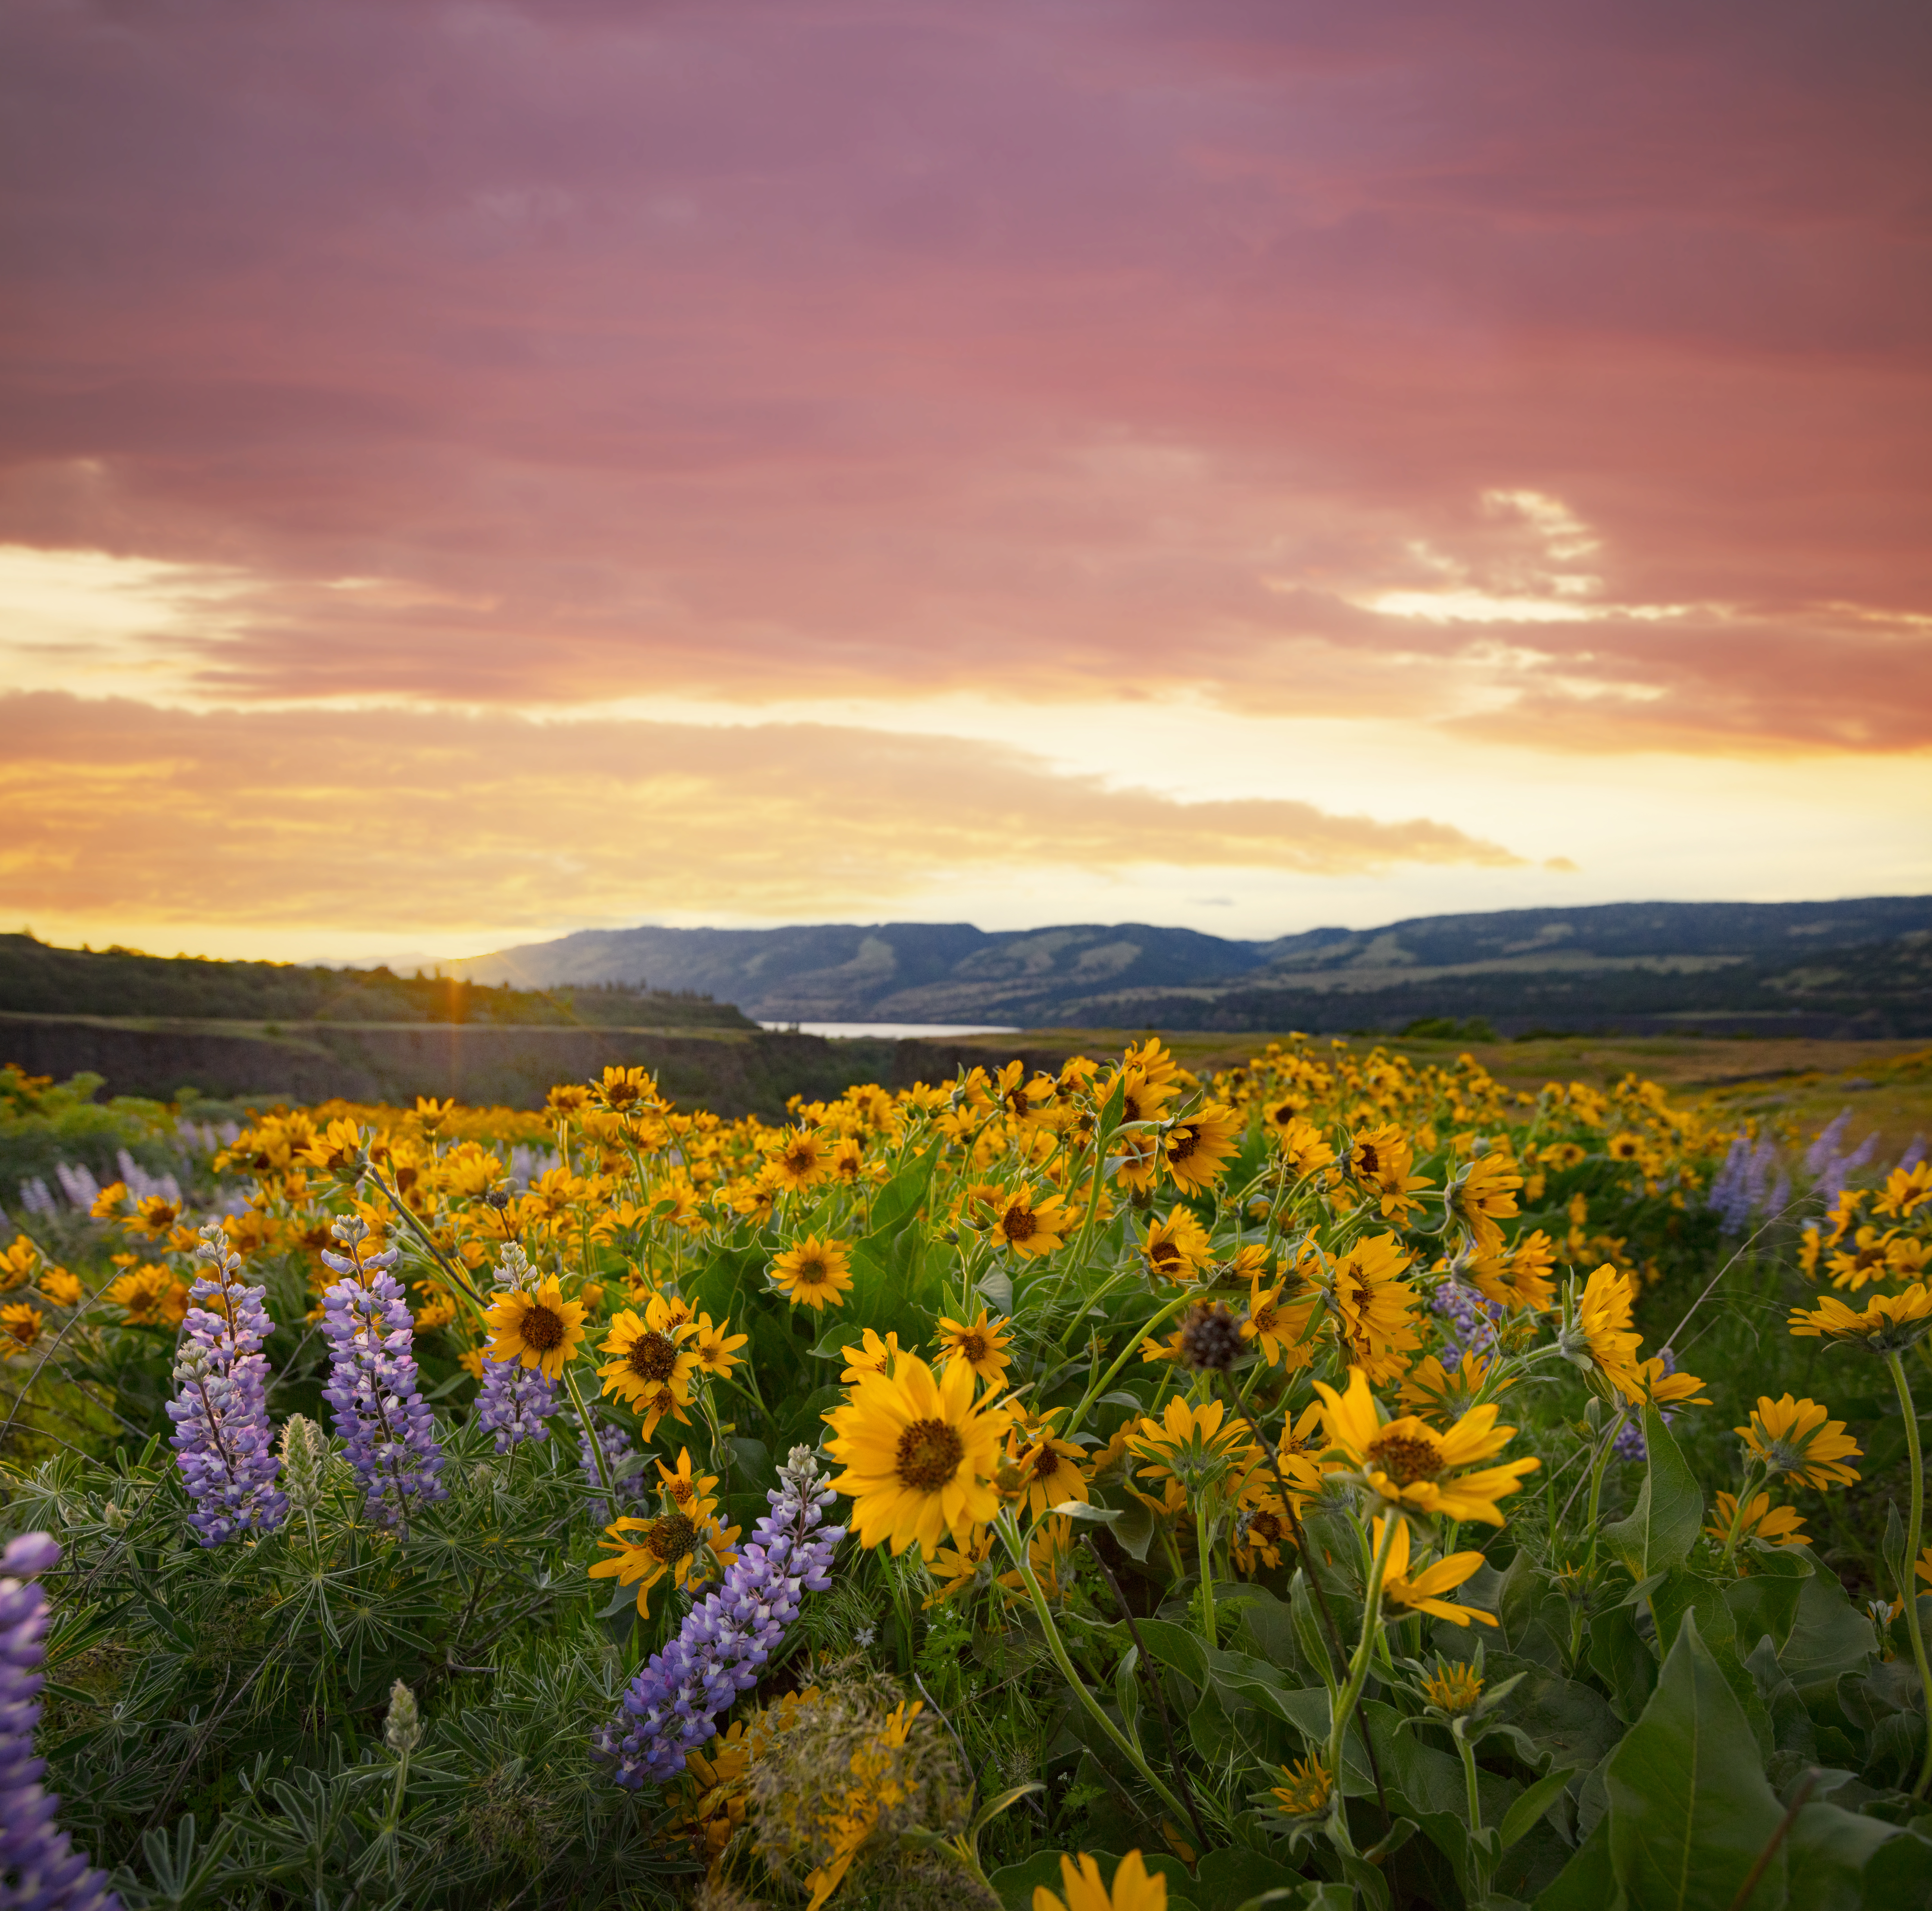
The angle of the sun when it is low in the sky during early morning and near sunset tends to bring out the textures of landscapes and architecture. The lower angle allows the lighting to skim across the ground and on surfaces that will appear flat lit once the sun comes up.
The Golden Hour
The period of time around sunrise and up to one hour after sunrise, and about thirty minutes before sunset is known as the Golden Hour to photographers because the sunlight appears softer and warmer during these times.
Mixing Light Sources
Inevitably, a photographer is going to be in a position where lighting of various types and colors will come into play. You may find yourself having to mix artificial light sources with natural light sources or even mixing various types of artificial light.
The warmer ambient light overhead is clashing with the blue light emitting from the area around them. This situation would have benefited from an added light source to overcome the effects of mixed lighting.
The keys to the solution of using mixed lighting sources is:
· To overpower the ambient light with supplemental lighting
· Determine the color temperature of each of the light sources and then use color corrective gels to bring the color temperatures in line.
It is helpful to have an assortment of color correction filters for the various light sources you might encounter.

Example 1
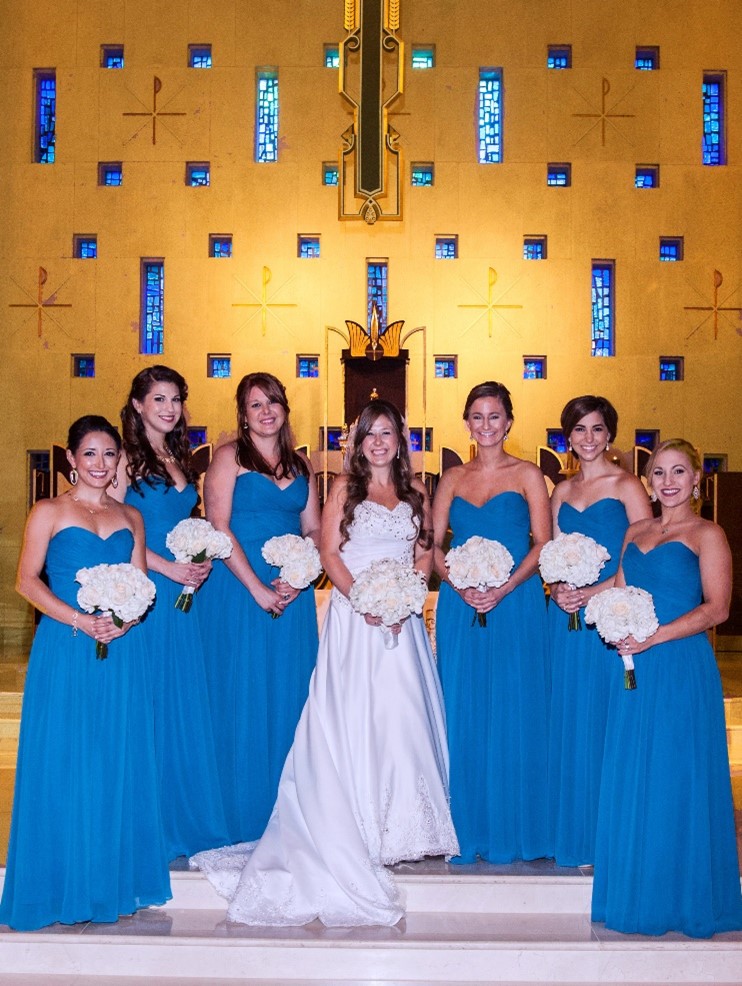
A typical scenario might include photographing a church wedding. Many of the images that are created at a wedding take place in the sanctuary where the primary lighting is a tungsten light source. The color values of the areas inside a church could easily range between 2800K—3400K.
If you photograph the wedding party at the altar with a flash, you are now mixing a daylight balanced flash at 5500K with the 3000K lighting at the altar. Setting the camera’s white balance to “flash” or “daylight” will provide a proper color for the wedding party. The color values in the church will shift to orange.
Setting the white balance to “tungsten” while using the flash will make the color of the church look good, but the color of the people lit by the flash will go awry.
The solution:
Add an orange color correcting gel to the flash which changes the “daylight” color balance of the flash to an equivalent “tungsten” value and set the camera white balance to “tungsten” (roughly 3200K).
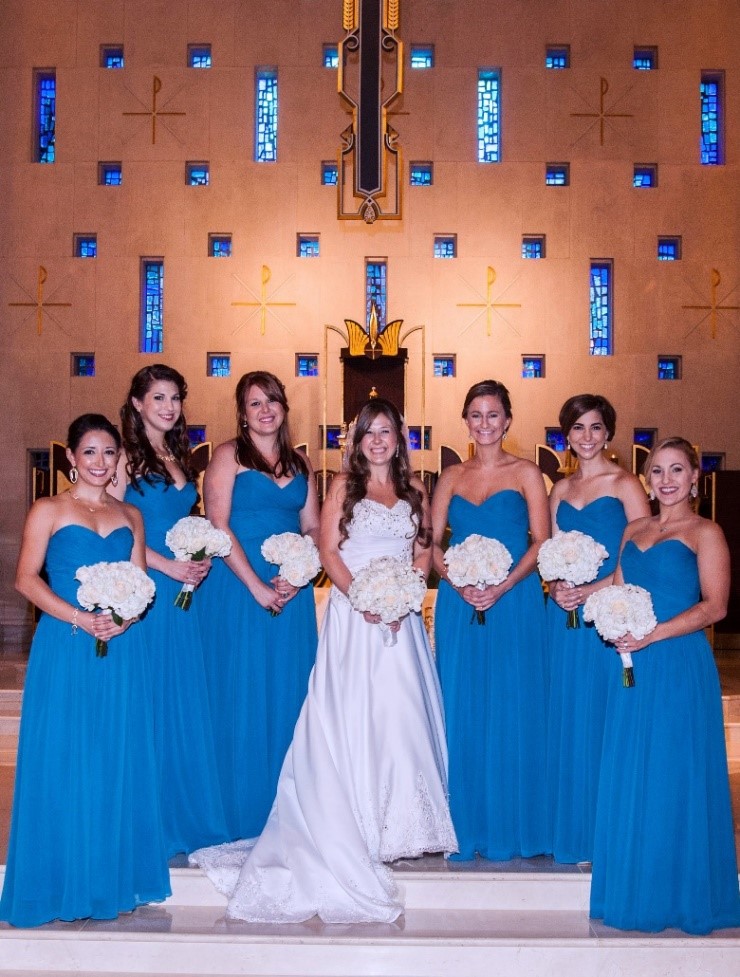
CTO (color to orange) filters will be available at various shades to fine tune the desired tungsten temperature setting.
Example 2
Photographing indoors with hot lights that have a color temperature of 3200K. The scene includes light coming into a large window that brings 5500K daylight into the room. If you set the camera white balance to daylight, the supplemental hot lighting turns orange. If you set the camera white balance to 3200K, then the color of the incoming window light shifts.
Solution 1: Use blue (CTB - Color to Blue) color correction gels over the supplemental hot lighting which changes the white balance to daylight and set the camera white balance to 5500K.
Solution 2:
You could use the hot lights without a gel but cover the entire window with a CTO color correction gel which changes the white balance of the window light to tungsten and set the camera white balance to 3200K.
Either solution will work.
In situations where filtering the light is not practical, RAW capture will provide you with the opportunity to make corrections to the color in stages which can be combined to create the final image with proper color. It may be best to consider the primary light source on the subject when selecting the white balance, then use RAW corrections on the rest of scene.
Color Correction
While DSLRs have built-in white balance controls, color correction filters still have a place in modern photography. We will look at a couple of the most common CC filters.
FLD or FLW
These filters are used to correct the color cast of two common fluorescent light sources. The FLD is used for daylight balanced fluorescent tubes and the FLW is for warm light balanced fluorescent tubes. Both filters help reduce the overtones that are often present with fluorescent lighting.
80A or 80B
These dark blue filters are used to balance tungsten lighting to daylight. This removes the yellowish cast that is present when the image is captured unfiltered. The 80A is for lights with a color temperature of 3200K and the 80B is for 3400K photo flood lights.
81A, 81B, and 81C
These filters are in a class of warming filters which may be used to offset bluish overtones often present with overcast lighting or portable flash.
CTO (color to orange)
These filters change the daylight color balance to an equivalent tungsten value.
CTO (color to orange) filters will be available at various shades to hone in on the desired tungsten temperature setting. These may be used in a mixed lighting situation such as using a portable flash (daylight) inside a church that is lit with tungsten light.
The filter would be applied to the flash so that the color of the flash is closer to the tungsten lighting in the church. The photographer would then set the camera to roughly 3200K. This helps to reduce the unsightly appearance that mixed lighting sources can produce.
CTB (color to blue)
These filters change a warm tungsten color balance to an approximate daylight value. This filter may be used in a situation with mixed lighting sources that include incandescent (tungsten) or hot lights with daylight (such as window lighting).
The use of the filter to cover the tungsten light sources will convert the color temperature of the warm lights (2700K—3400K) closer to daylight (5500K) value. The photographer would then set the camera to Daylight (5500K).
Backlighting
Backlighting is a situation where the background is brighter than the subject. Recognizing a backlighting situation allows the photographer to make plans on how to handle the exposure.
When your scene has strong backlighting, the background may completely blow out, losing most, if not all, of the detail in the background when the camera exposure is set for the subject.
To correct this issue, the photographer will need to add supplemental lighting onto the subject to raise the illumination on the subject to get the exposure value closer to the background exposure value.

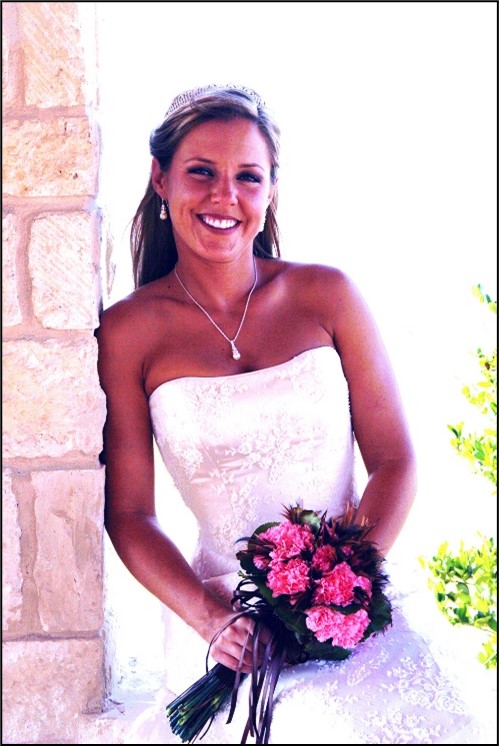
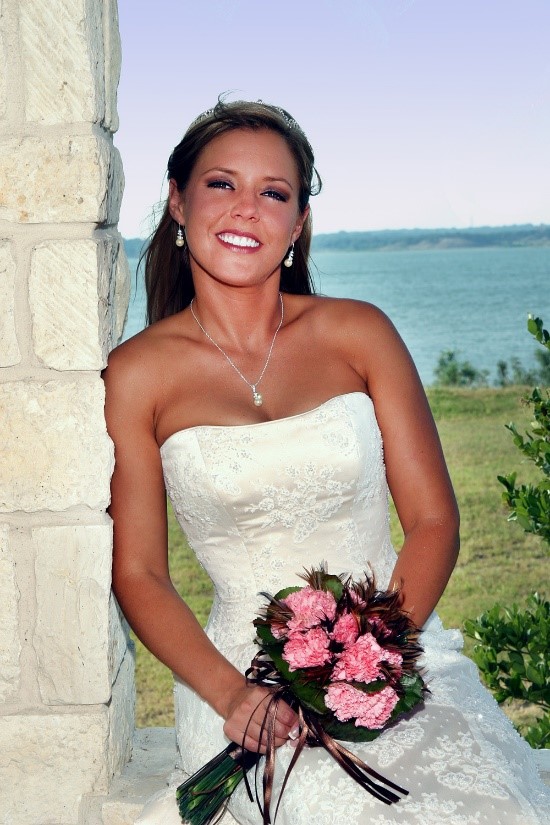
The image on the left is an example of strong backlighting. The bride standing in the shade of the gazebo appears very dark compared to the F16 exposure of the background.
In the image to the right, exposing for the lighting on the bride blows out the detail in the background. The task at hand would be to raise the illumination of the bride to an exposure that is closer the that of the background.
The solutions:
· Utilize a fill flash technique by exposing for the background and match the output of the flash to the exposure of the background.
· Use a reflector that adds illumination to the subject.
· Constant lights such as LED lights may also provide enough illumination onto the subject to bring the exposure values in line with a bright background.
· Select a telephoto lens that will isolate the best part of the background for bringing the exposure values closer together.
· Other techniques may include trying to reduce the overall exposure of the background by blocking some or all of the light with a gobo or a scrim.
· You could use several images at separate exposures and work with them in an image editing software to create a final acceptable image.
· Allowing the background to simply blow out is also an option. If the background is terrible, or if it adds to the desired effect to render the background as over exposed, then blowing it out may be a suitable creative decision.
Backlighting as a Rim Light
In cases where the backlighting is also striking the back of the subject, it may be possible to create a rim light pattern on the subject’s hair. This is a wonderful technique when done properly. It is especially helpful if you are able to isolate the subject against the darker parts of the background - another bonus of having a telephoto lens on hand.
Creating Silhouettes
In other backlighting scenarios, it may be best to use the backlighting to create a strong silhouette.
To create a silhouette, measure the brightest part of the background and use that setting on the camera. Try to isolate the subject against the brightest part of the scene.

Product Lighting
There are many situations that may arise in product photography. Items that you encounter may range from jewelry to glassware. You may be asked to photograph items that are translucent such as bottles of wine and items that are opaque. Each of these requires a different approach in order to properly light them.
Reflective Surfaces
Products with highly reflective surfaces require very large light sources. When photographing reflections, you will need to pay close attention to what is being reflected. For example, with a product that is photographed with a softbox, you may be photographing the reflection of the softbox on the product’s surface. Using a softbox at close range may allow you to see only the white of the box without having to see the box, stands, camera, and other unwanted distractions in the items’ reflection.

In the natural light image of this wedding cake on the left, there was no direct reflection of light on the metallic surface of the letters on top of the cake. As a result, the brushed silver finish is not apparent.
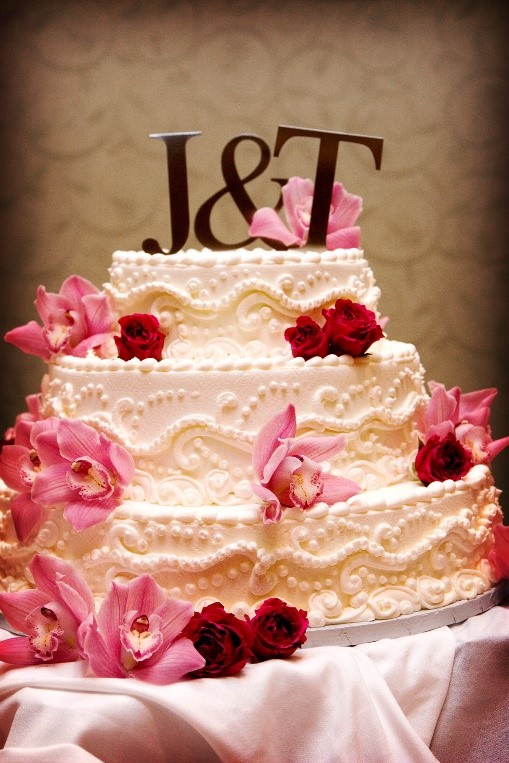

In the image on the right, a bounce flash technique was used so that the letters would reflect some of the light from the flash as it hit the ceiling. The result is that the reflection of light on the letters allow us to see the true color and the metallic finish of the letters.
Softboxes, reflectors, and light tents are especially useful in this type of product photography. Reflectors may include simple white, gray, or black pieces of foam core which can be used to bounce reflections onto the objects’ surface. Even with a light tent, black cards can be used to create black reflections which may help to better define the object.
Transparent Products
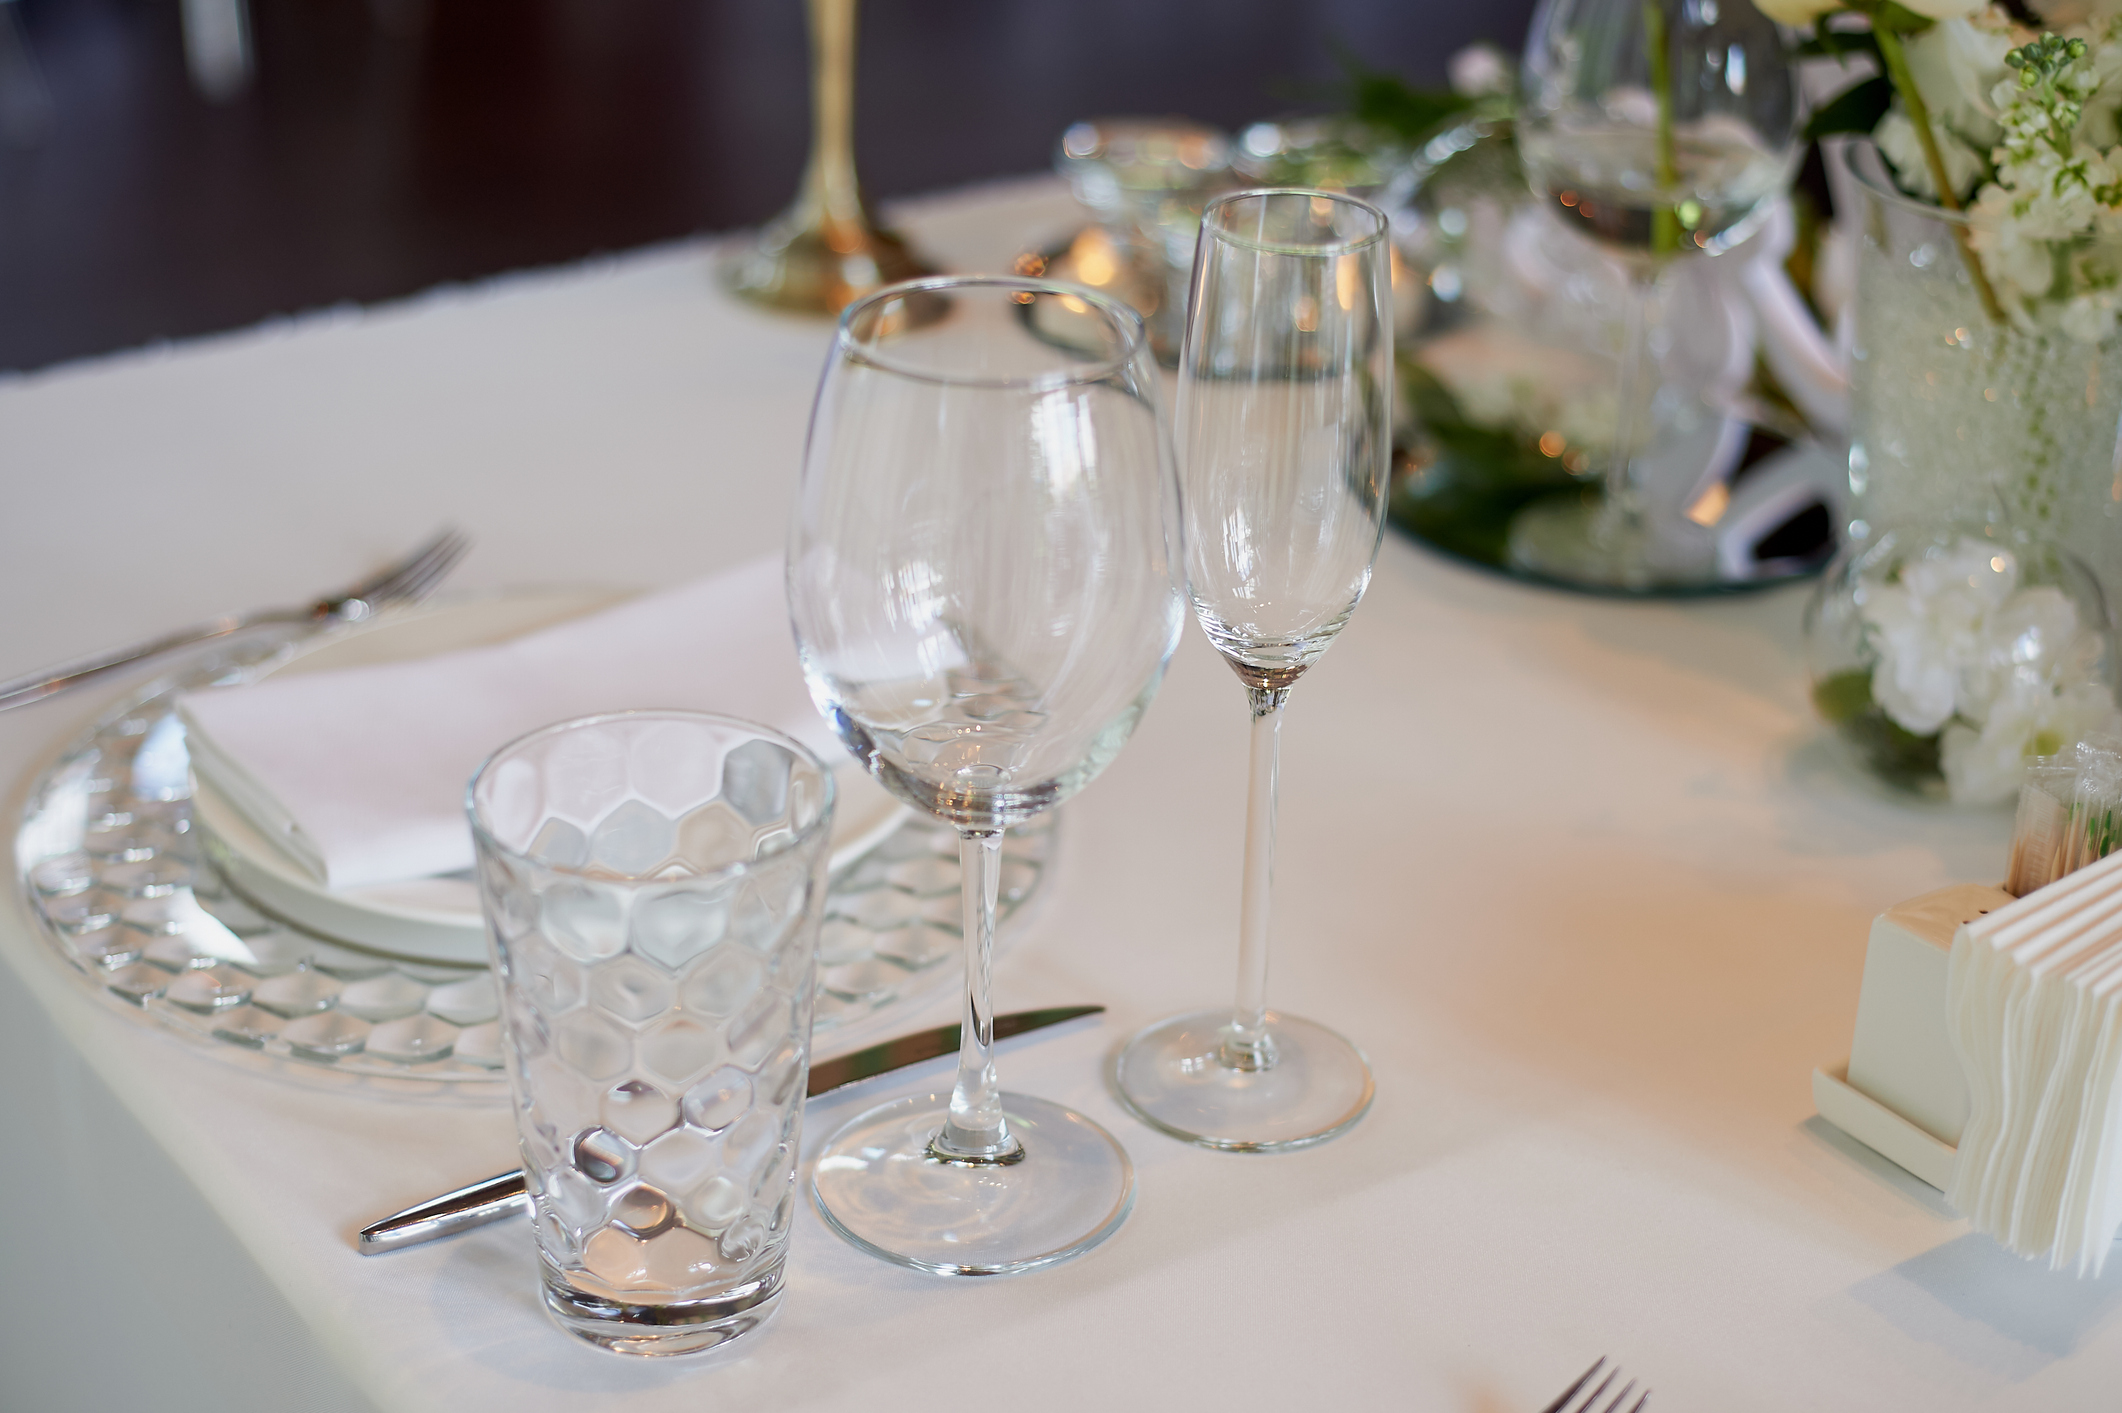
Transparent products such as glassware also benefit from large light sources and backlighting. Glassware can often be presented through simply lighting the background and allowing the background to show through the object.
In the image below, the arrangement is lit with natural window light which was several feet away. The pinpoint, specular highlights do little to define the shape of the glasses. You can see the windows in the reflection of the glass.
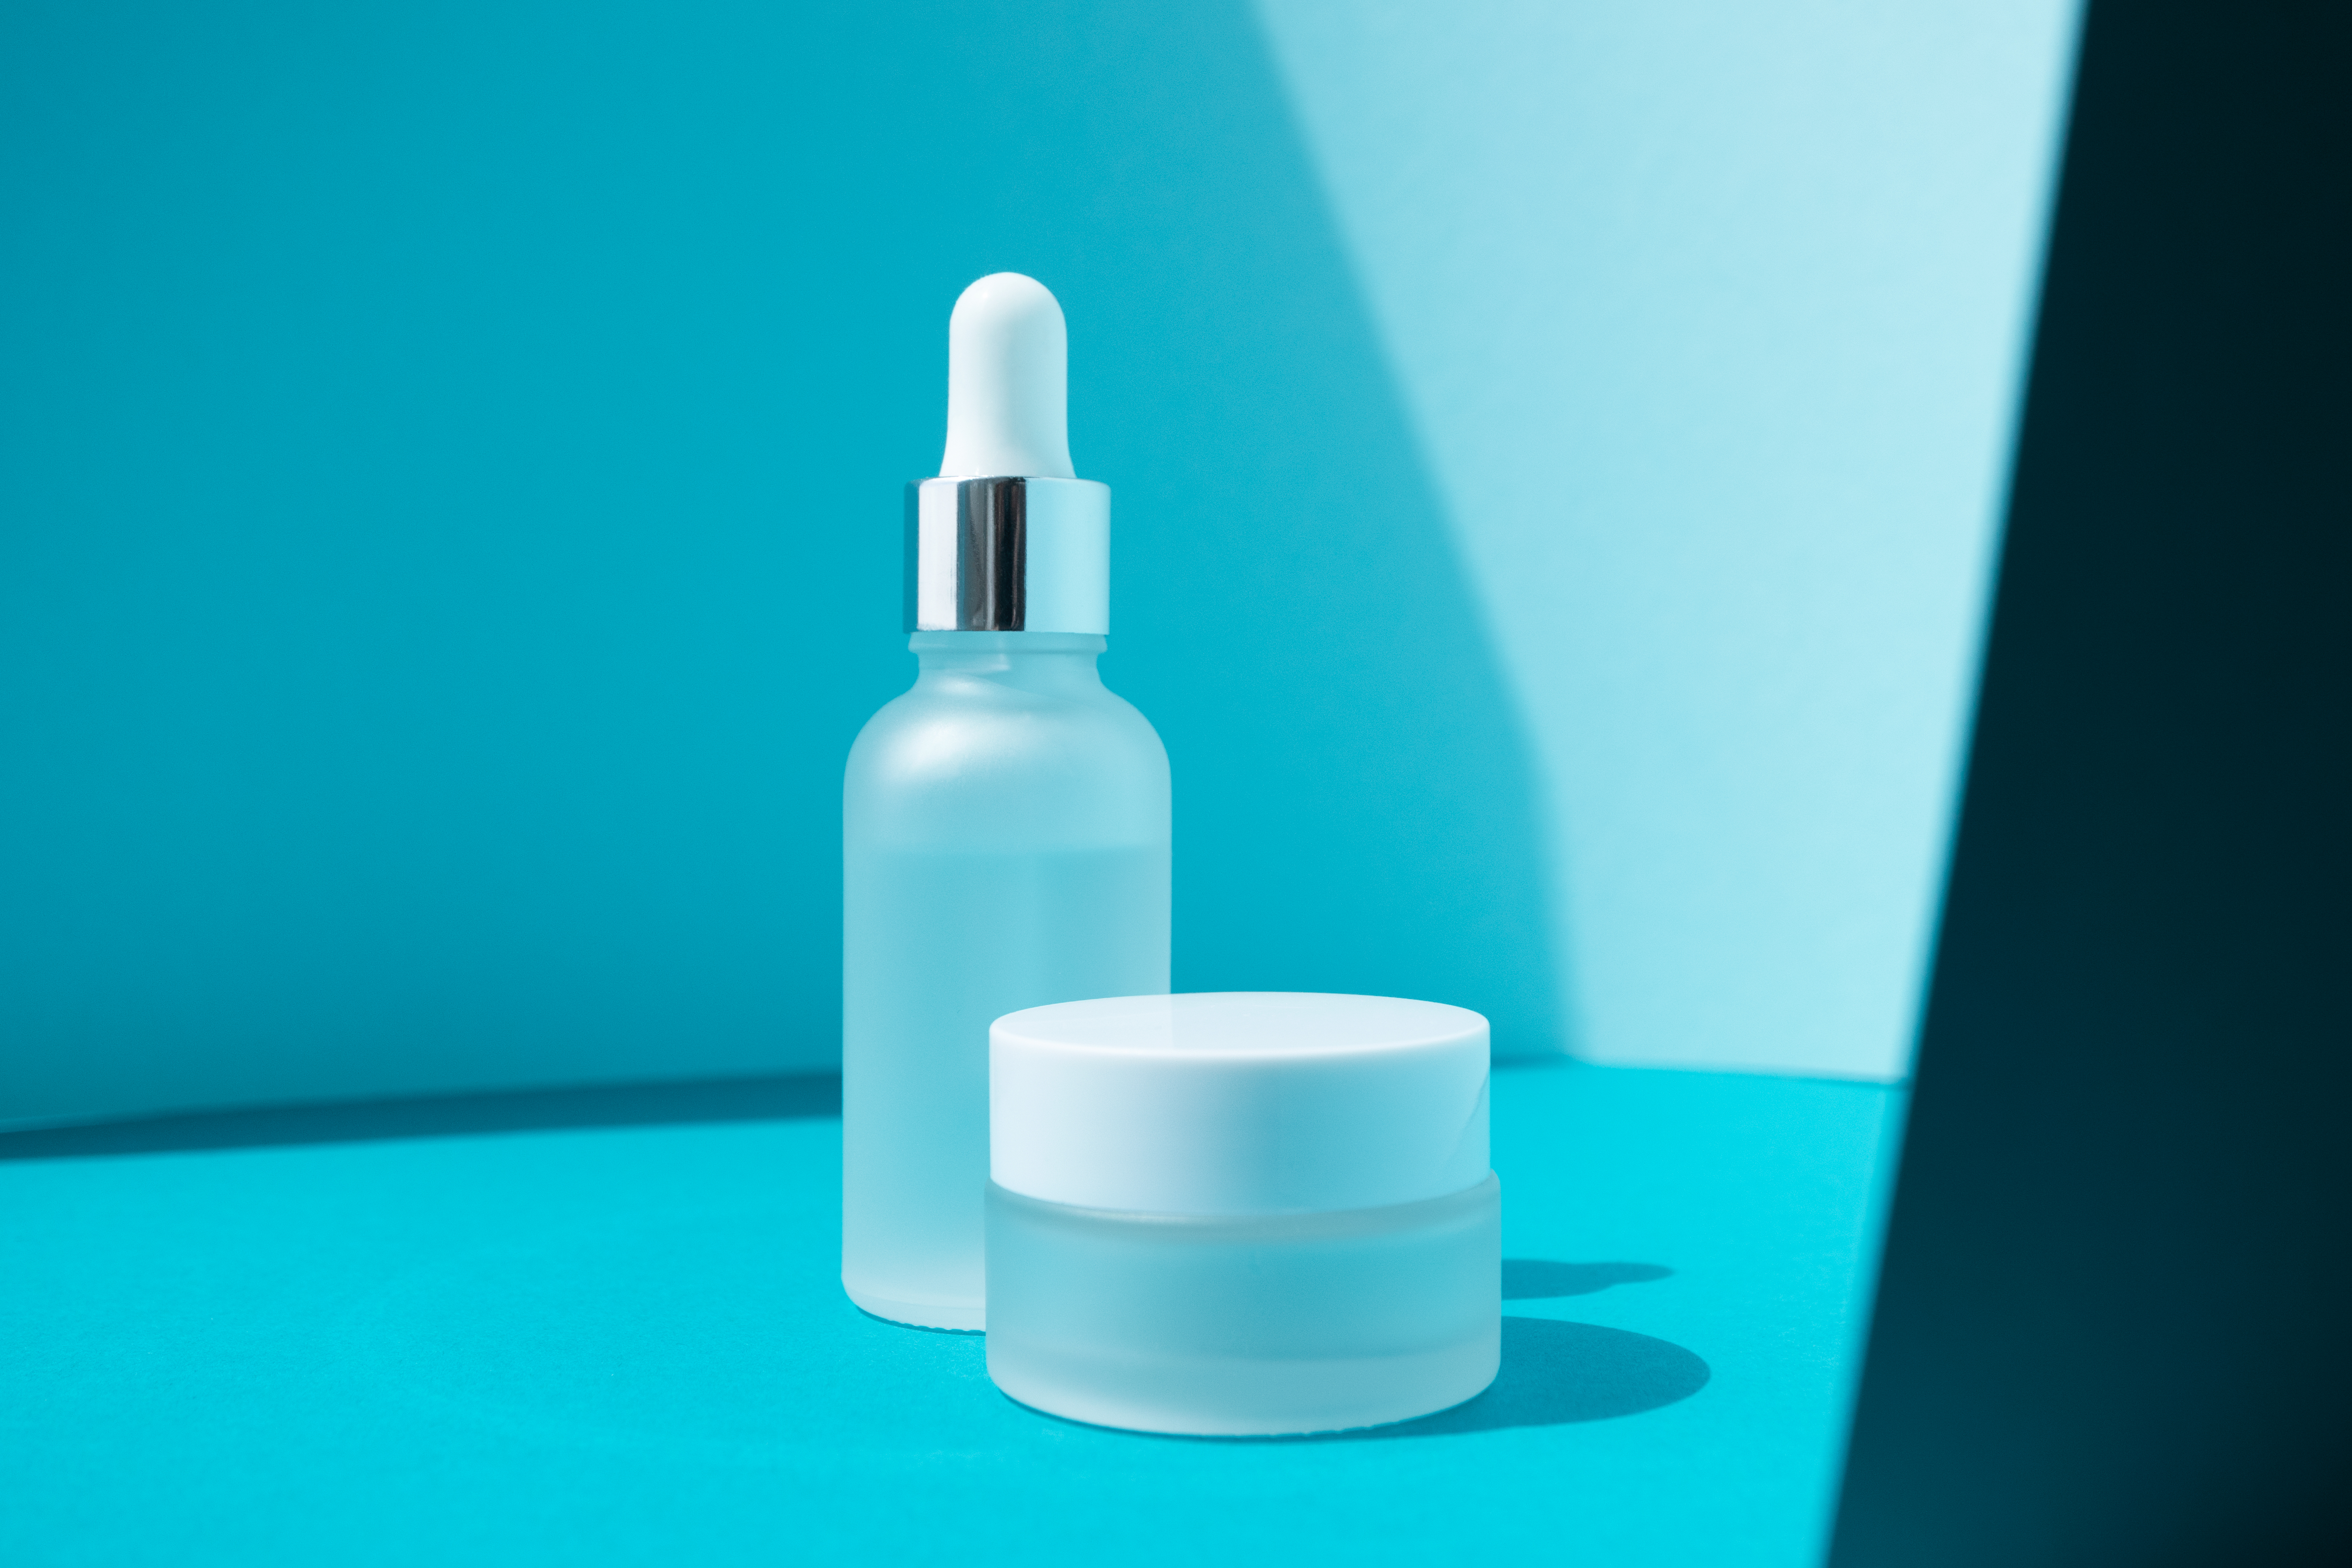
In the image below, a large softbox with a strobe was used to be able to give the bottle larger and diffused highlights. Photographing the bottle with direct flash would have just caused glare from the flash reflecting off the bottle.

Translucent Products
Translucent products also benefit from large light sources and well-placed reflectors. Backlighting is often employed to help define the value of the translucency of the object and provide definition to shape and form as needed.
This translucent wine bottle below was backlit with a large light behind the table. The backlighting really shows off the translucence of the bottle and the liquid.

Opaque Objects
Opaque objects do not allow light through them. The main objective when photographing an opaque object is to define the shape, texture, and details of the product as well as its color.
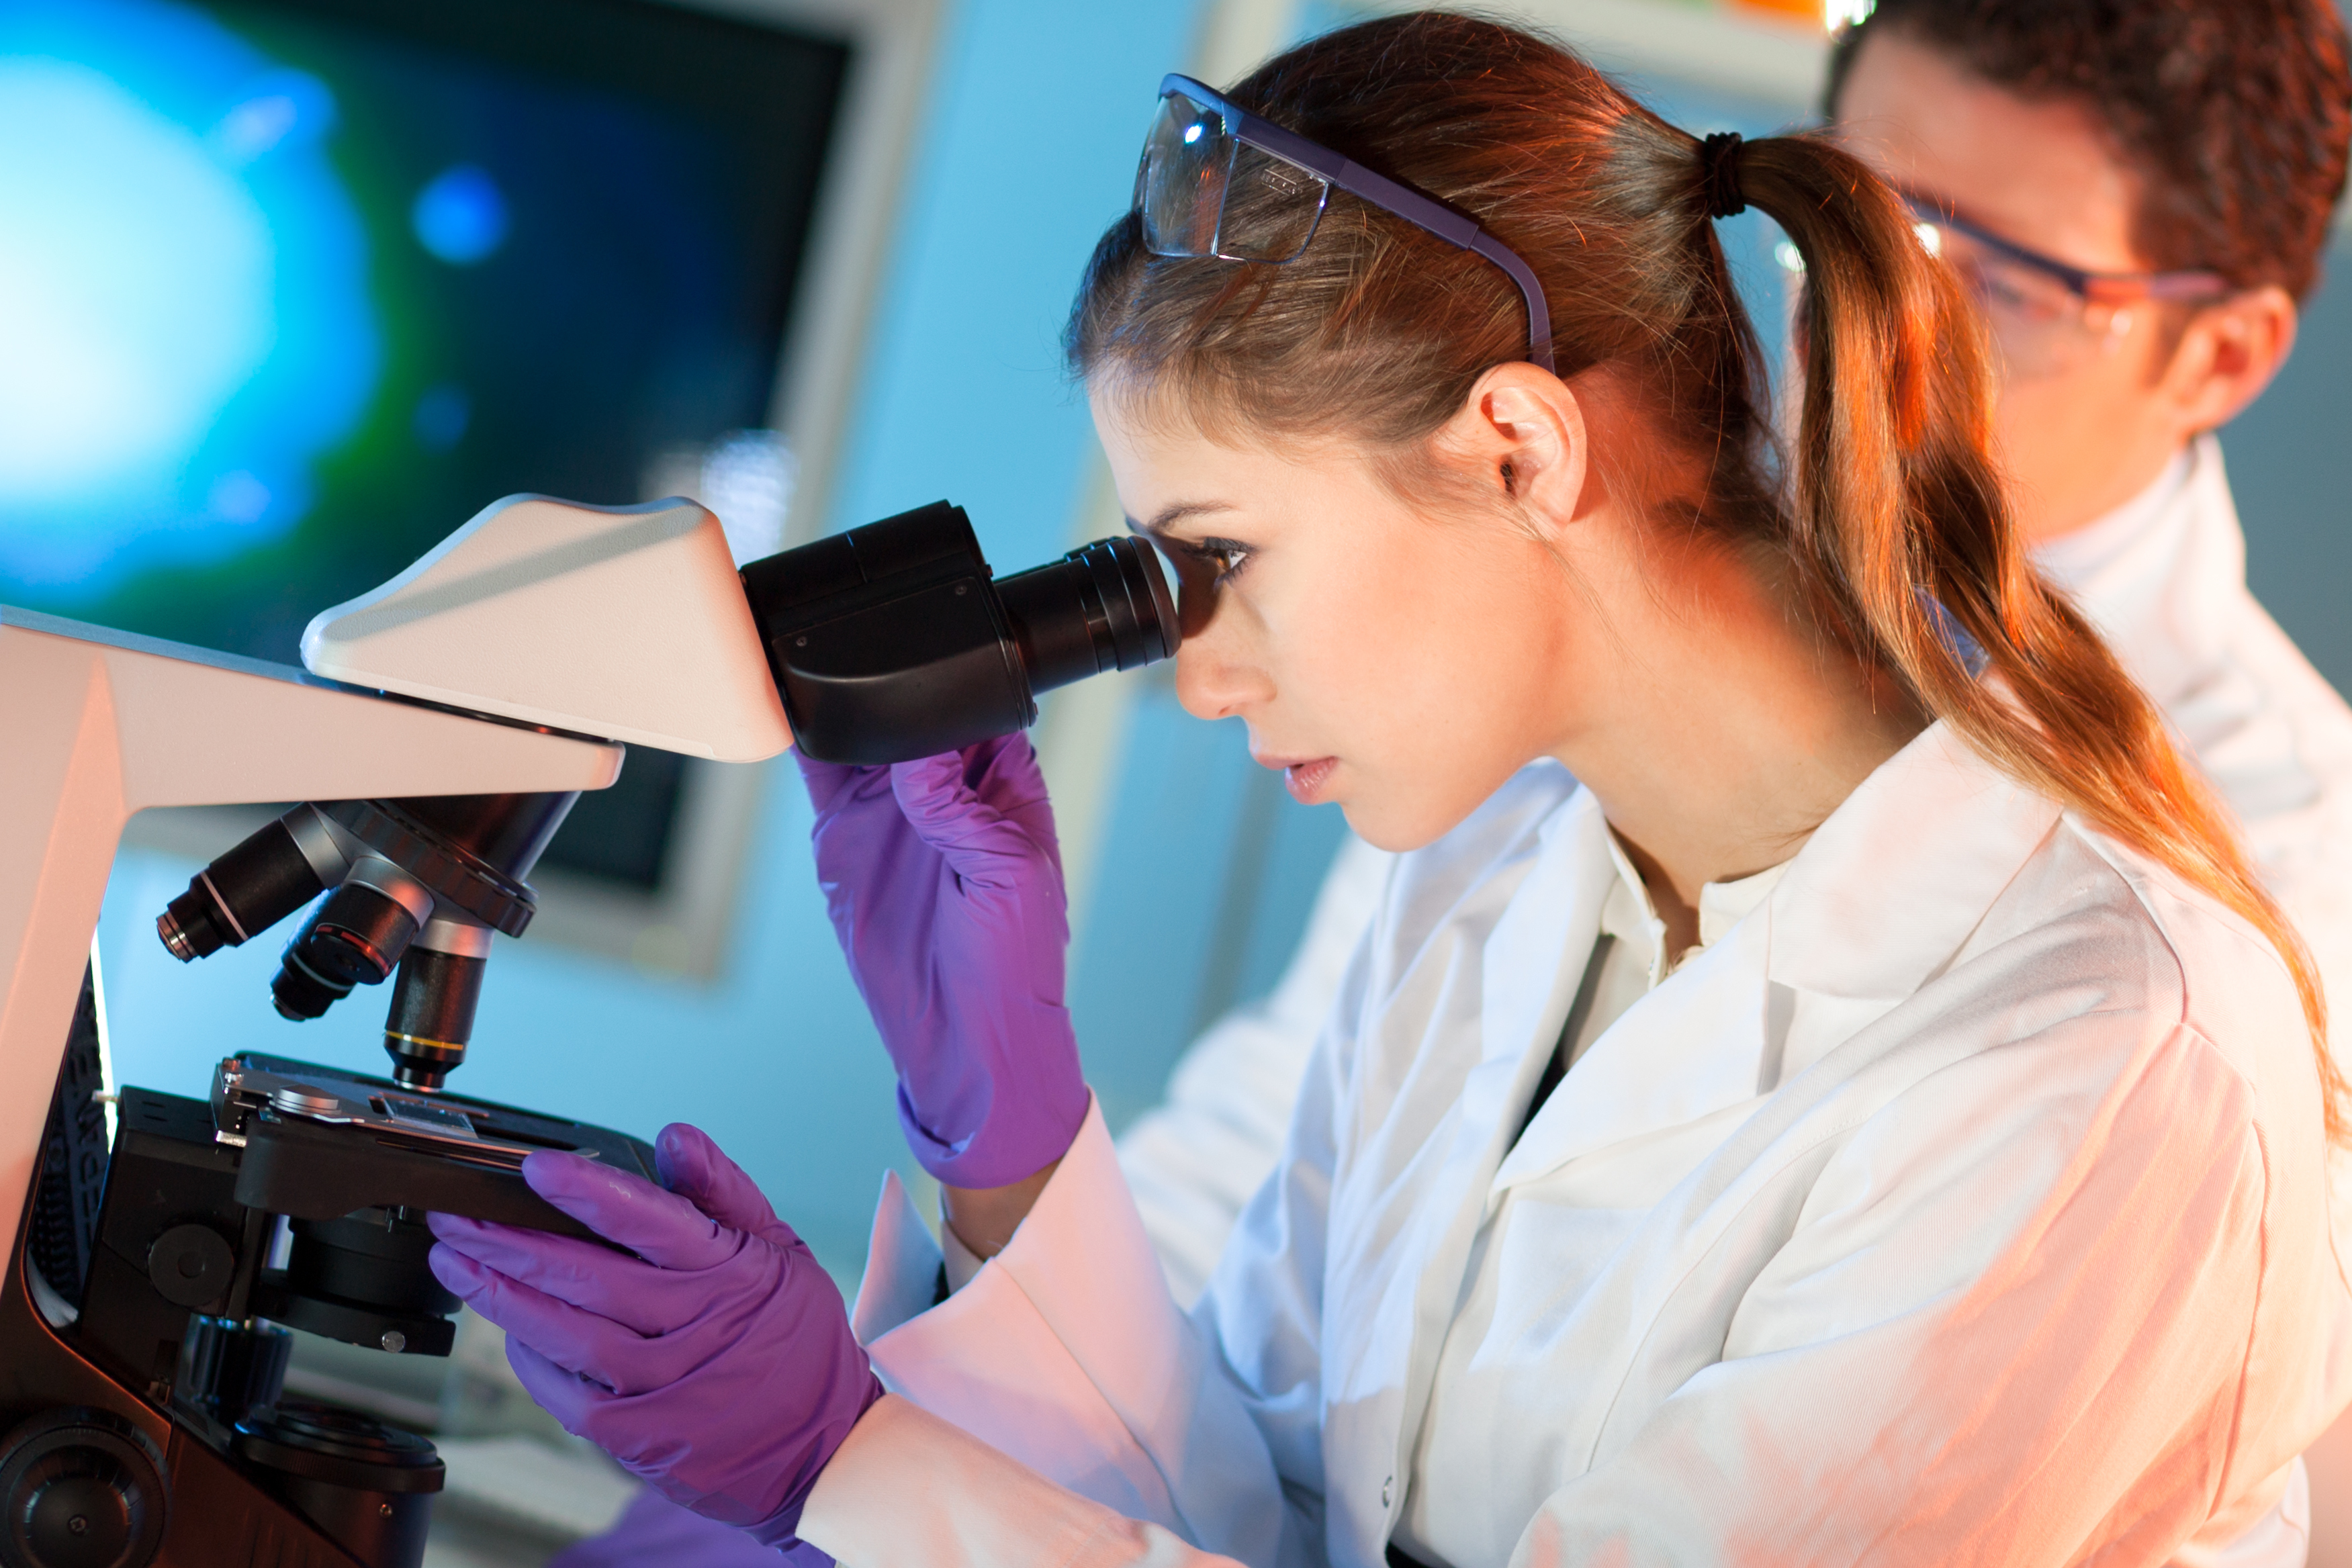
Soft lighting is frequently used in product photography in order to showcase the product without unwanted shadows.

In the studio, a large softbox or translucent scrim is often used to light product with soft, even light which is virtually free from shadows.
In this image of a microscope, a large softbox to the left skims the light just across the front of the microscope. The soft shadows of the skimming light provide depth and a bit of three dimensionality to the device.

A large sheet of white foam core to the right was used as a reflector to bounce back some of the light so that the lighting is still relatively even.